How to Start an Embroidery Stitch – Easy & Quick Ways
When you open a book on hand embroidery, you usually see the theoretical part: HOW TO START AN EMBROIDERY STITCH.
No doubt, it is essential! But as for me. The first thing you need to learn about hand embroidery is how to start the thread. You will get a pretty good idea of which fabrics and needles work best already in the process. Therefore, I like to guide you on how to begin the thread and make embroidery stitches so that you can practically start stitching on your hat with embroidery machine.
Most importantly, I and many experienced embroiders suggest you start embroidery without a knot on the back.
Reasons for this No Knot Suggestions:
- Did you ever stretch and frame a piece of embroidery flat only to find that it has raised bumps due to knots? Of course, you did!
- Do you try to stitch a chain stitch or French knot on the embroidery’s back while the thread gets tangled in the knot? Me too!
- When embroidering something that needs to be washed, do you ever find that the knots loosen and release overtime after the item is washed? Of course!
- Several knots can make it hard to put your stitches exactly where you want them to go on an ornament or needlebook, for instance. I have done it!
Many needlework instructors advise their students to avoid knots due to these reasons.
Do you think starting an embroidery thread without a knot is difficult? No, there is nothing like that here is a no-knot tutorial for you, given below.
Use Two Strands for Embroidery Without Knots
A stitcher usually uses two strands of floss at once when stitching, and this method of avoiding a knot is not only efficient but easy as well.
- Make one very long strand of floss and fold it in half instead of cutting two separate strands.
- The folded end of the thread should be the end of the thread once it is cut and inserted into the needle.
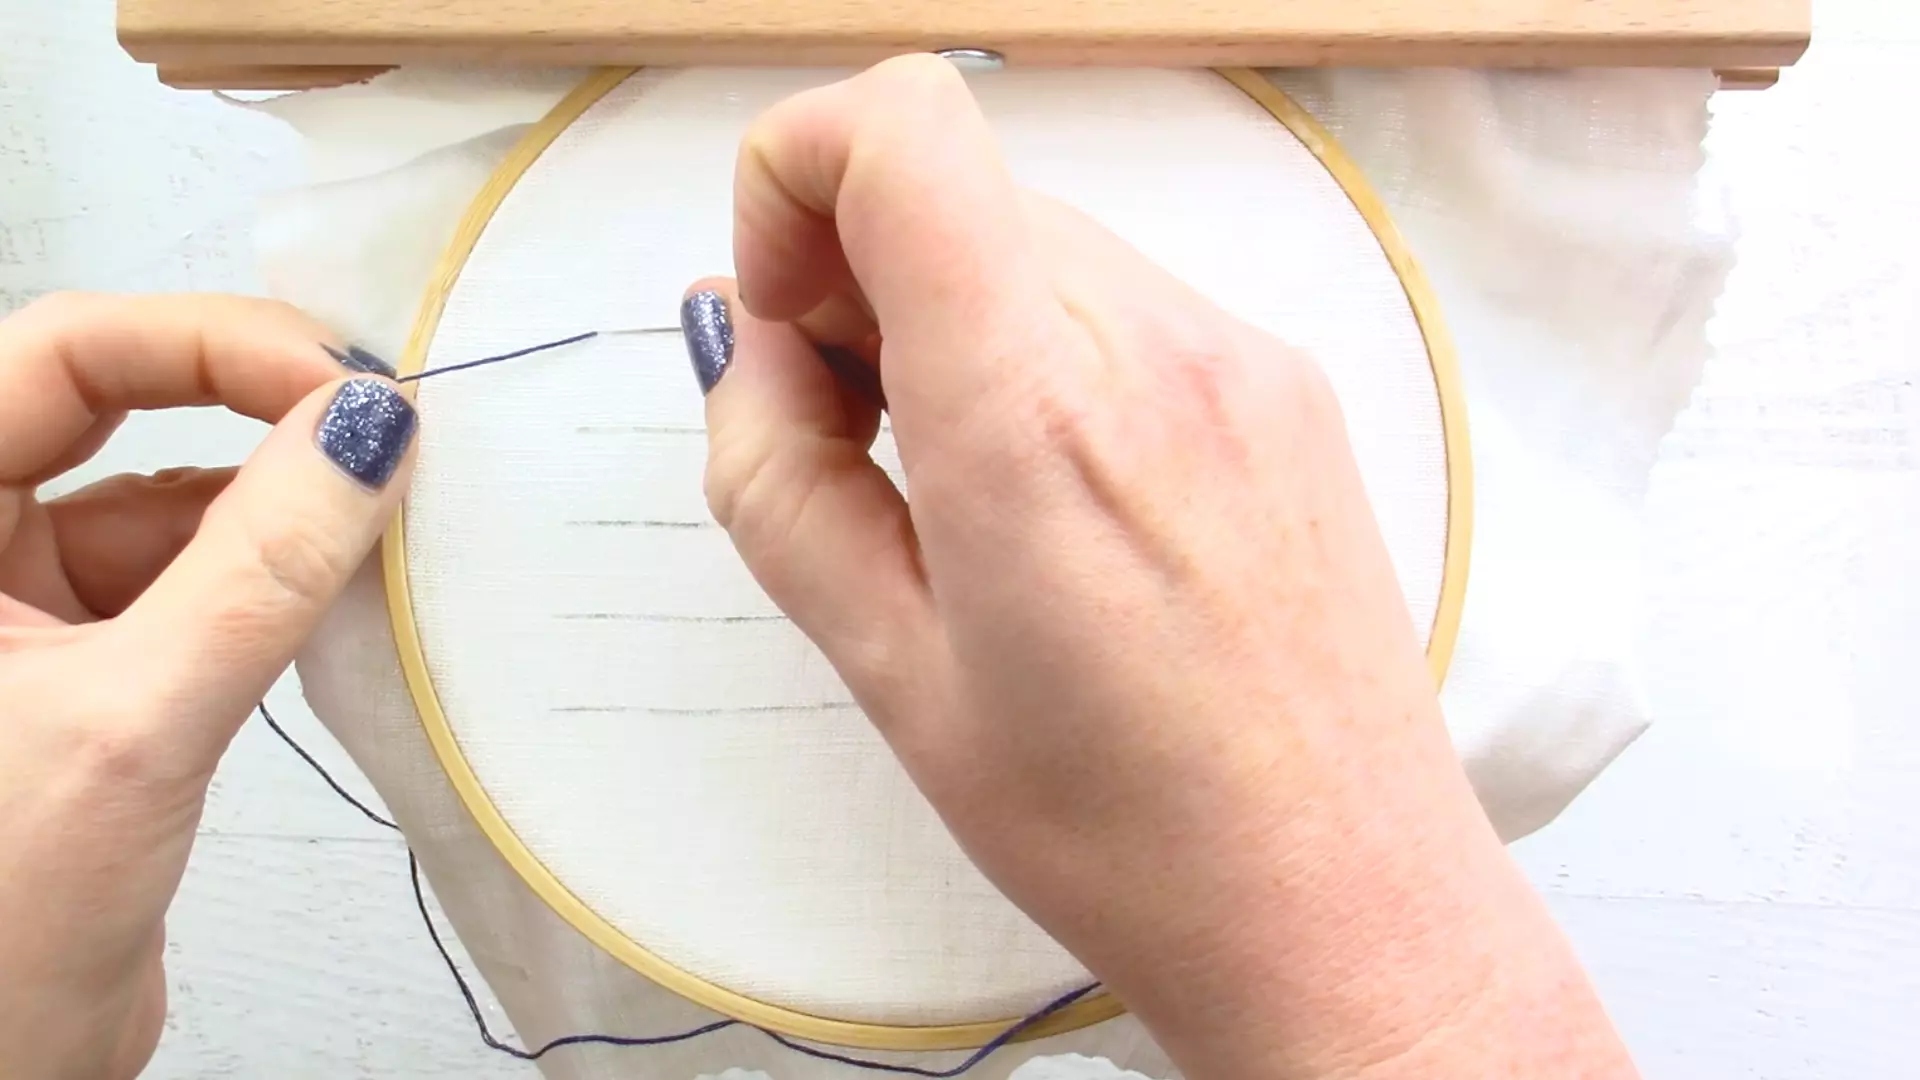
- Don’t pull through the fabric with your needle and thread as you normally would. Only leave a small loop behind the fabric.
- Turn the fabric over twice before inserting your needle in it, then pull through the loop on the back of the fabric, and make sure that the needle is passing through the loop on the front of the fabric.
- Make the loop tighter by pulling the needle and threading through it. You’re working thread will then be surrounded by a chain stitch type of look.
- Ensure that your thread is securely placed on the back of the fabric without knotting.
- Now, repeat and stitch away!
If you follow the steps of embroidery that I just shared with you; it will result in a stem stitch on the fabric’s back.
Knots are Not Permitted on Any Thread While Embroidery:
The first method is easy and quick, but somewhat limited. You can only use it when stitching with two strands of floss. Any thread can be used in this method, as long as there are a sufficient number of strands.
If you use this method, you do not have to knot the fabric on the back. However, the needle should be threaded as usual, and the thread’s end should usually be knotted.
- Take your needle and thread down into the fabric from the top, about an inch away from where you want to start your embroidered line. Keep the knot on top of the fabric.
- Continually move your needle and thread down your design line until you reach your starting point and backstitch over one or two threads in the fabric.
- To achieve the desired result, backstitch two or three times on the design line, working toward the starting point of your embroidery.
- Once you have worked two or three tiny backstitches along the line, bring a needle and thread to the front of the fabric at the starting point, and stitch towards the knot using the backstitches.
- Make it seem as if there are no backstitches at all. You will cover them with your embroidery stitches.
You don’t need to focus on what’s happening on the back of the fabric. Indeed, you will stitch through the threads at the back as you progress toward the knot – and that’s fine! It’s an extra layer of protection.
- Then, when you reach the knot, pull up on the tail of the knot so that it is separated from the fabric. Once you have untangled the knot, snip just below its surface. In most cases, the rest of the thread will bounce to the back of the fabric once you snip it close.
It is a close-up of how the beginnings of both stitching lines appear. A two-stranded method is shown on the left; a waste knot stitched with tacking stitches seems on the right. The threads are both securely woven, and neither produces a lump on the back of the fabric.
As long as you can cover the tiny stitches up with your embroidery, waste knots, and small tacking stitches like those described above work pretty much anywhere. You can use this method to start an embroidery thread, whether you’re stitching a line or filling in space. The black dot on the top photo will be filled with satin stitch, and the stem stitch will be used to outline part of it. To begin my thread, I tied a waste knot inside the little dot on top of the fabric, and then I stab-stitched three tiny holes inside the dot.
Proper Guide to Make a Stem Stitch:
Let’s have a look at How to stem stitch embroidery!
The stem stitch is a simple, basic embroidery stitch that can be used to write creative messages and add outlines to your work. As soon as you learn how to do stem stitch, you’ll be able to create beautiful samplers, a handy bookmark, and flower and plant stems! Here’s a neat way to create a stimulating effect using variegated embroidery floss.
STEP BY STEP INSTRUCTIONS ON STEM STITCH EMBROIDERY:
Stem stitches are often used for plant stems or as outline stitches. You can try this stitch with the tiniest stitches possible if you wish to have a tight rope effect, so I am showing you huge stitches to show the details. You might find it easier to reverse the stitch if you are left-handed. I worked the stitch from left to right. Anyhow, choose whatever is most comfortable for you. Thread your needle with a single thread before stem stitching.
Mark as Follows:
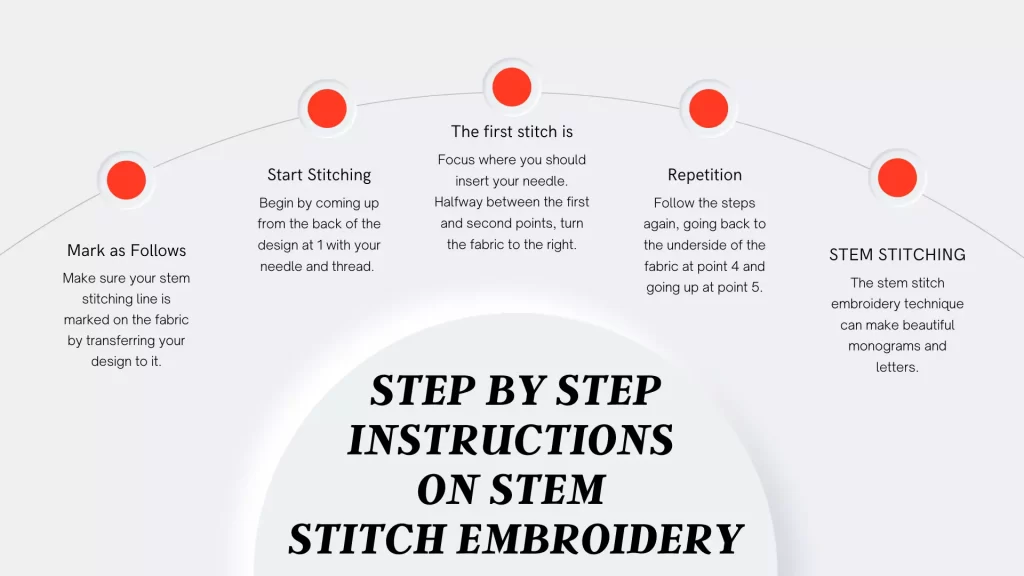
Make sure your stem stitching line is marked on the fabric by transferring your design to it. Tailor’s chalk or a removable fabric pen can be used. Now, putting your paper on a window then placing the fabric on top of it is easy to transfer designs. When you trace over the procedure, you will see the structure underneath. Undoubtedly, it is quite simple, yet very effective.
Start Stitching:
Begin by coming up from the back of the design at 1 with your needle and thread. Either a knot or a long thread tail can be used as a starting point. After you have finished, you can work on the tail.
The First Stitch is:
Focus where you should insert your needle. Halfway between the first and second points, turn the fabric to the right.
Repetition:
Follow the steps again, going back to the underside of the fabric at point 4 and going up at point 5.
Letters used for stem stitching:
The stem stitch embroidery technique can make beautiful monograms and letters. For medium to large-sized notes, the thick twisted rope look is ideal.
Instructions for How to Thread an Embroidery Needle:
Sort the Strands:
There are different types of embroidery thread, but stranded cotton embroidery floss is the most common. There are six strands of thread in this type of thread to divide it up. Stitching with different thicknesses is possible once the strands are separated. Thereby, you can stitch straight away by combining all six strands. You will have to make sure you’re using a large enough needle and fabric with a loose weave (like even weave linen); otherwise, the fabric could pucker up.
Moreover, a piece of cotton floss about the length of your forearm (or slightly longer) can be used for separating strands. Use a blunt object to make it easier to see the individual strands. Now, divide the strands as many times as necessary, then grasp the split end with one hand. Divide the thread slowly by drawing a finger down the thread on your other hand. After you reach the end, untwist the groups of threads, and they are ready to go.
Now Thread The Needle without Using a Needle Threader:
When trying to pass embroidery floss (or any thread) through a needle’s eye, people often moisten it, but that isn’t ideal. In the first place, threading someone else’s needle is quite gross! However, it doesn’t guarantee success, so you could also wind up with a soggy thread. The method of squinting while threading the needle may also be familiar to you (or you’ve tried it). However, this works less well. Using something other than your hands.
What to do When Using a Needle Threader?
Using a needle threader will give you some extra assistance. It helps you thread your needle while you hold the tool. Other performances include a hook and a desktop threader and the classic version with a metal handle and belt loop. Further, inserting the loop or hook through the needle’s eye is how you use a basic needle threader.
Now that you know HOW TO START AN EMBROIDERY STITCH, it’s time to get good at your stitching.