How to Embroider Letters Easily? Guide for Beginners
Why are you wasting your time more if you want to add some touch to your words into your clothing? Just learn how to embroidery letters! It no longer needs to be a concern for you. Now it’s time to put your words into your wearing or usage things!
Whether you’re a beginner or just want to learn how to embroider letters by hand, this post will be helpful to you! Learning how to embroider letters is a challenging task. It is important to use stitches that are easy to stitch fine lines.
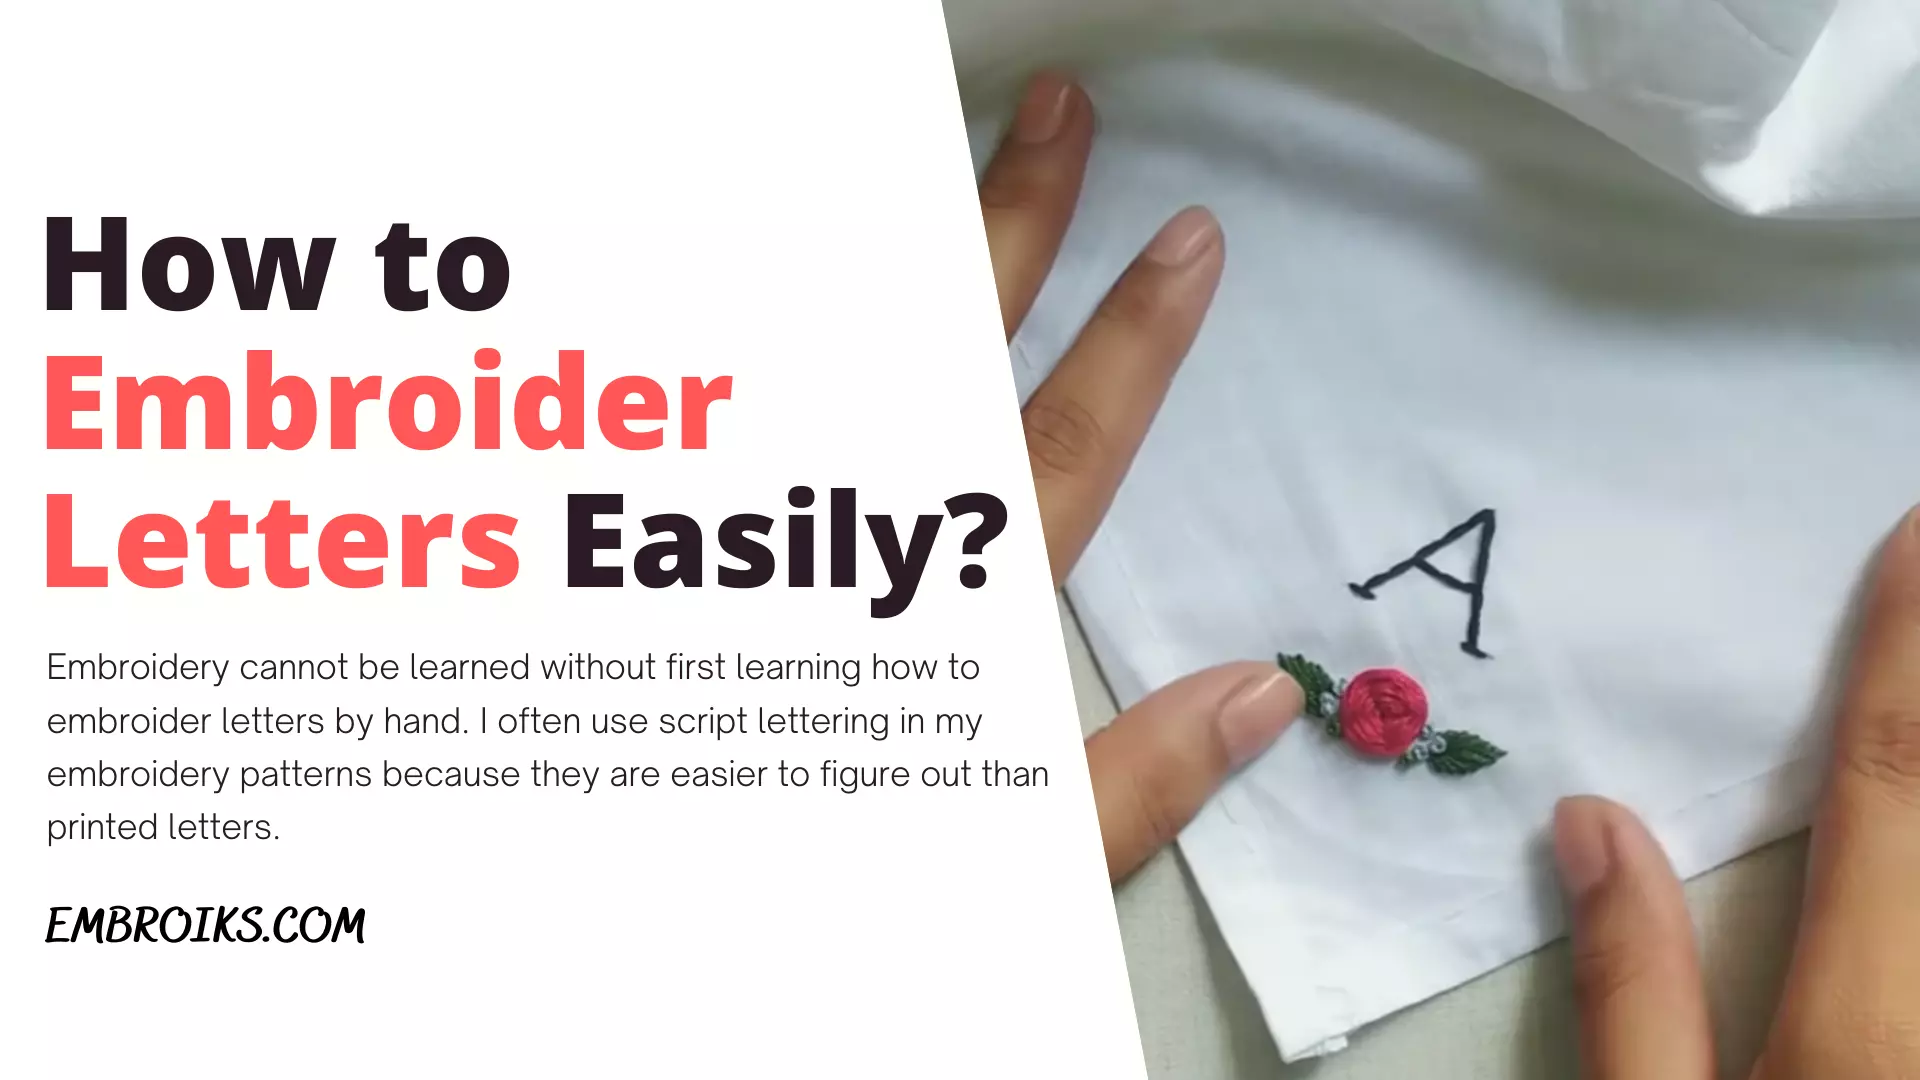
Embroidery cannot be learned without first learning how to embroider letters by hand. I often use script lettering in my embroidery patterns because they are easier to figure out than printed letters.
Method One, Backstitch, for Embroidering Letters:
A backstitch is the first technique that I like to use.
Script fonts with thicker and thinner portions can benefit from this technique. My backstitch outlines the thicker parts, and then I fill in the wide sections with another row. My standard procedure for this style is to use six strands for large letters and three for smaller ones.
A Method for Embroidering Letters, Using the Stem Stitch:
One of the other methods that I prefer is stem stitching.
Monocline fonts, i.e., fonts made of a single line, require stem stitching. If you want to create a font like this, you can use any line stitch, but stem stitch is my preference. By doing this, the letters appear like one continuous line instead of many stitches.
When I embroider letters using a stem stitch, I usually use two or three strands of floss.
Few Tips on How to Sew Letters on Fabric by Hand:
You should shorten the length of your stitches when working with curves. Create an easy-to-follow guide to stitching the lettering by stenciling it before stitching. Using fewer strands of embroidery floss (two to three) will produce finer lines.
Letters stitched on backstitch:
I usually embroider letters with the backstitch, which is the easiest to learn. The backstitch can be known if you are not familiar with it. Make sure you don’t skip spaces between stitches to make this stitch look nice. Whenever you make a stitch, be sure that it lines up directly opposite the last stitch that you made. Shorten your stitches when you work on curves. You’ll keep the lettering smooth by doing all of these things.
Letters with split stitches:
As you will be splitting the threads down the middle, try to use an even number of strands when working this stitch. Besides taking your time, make sure the stitch you are about to split is laid where you want it. Some of the stitches may appear very jagged, but with patience and practice, you’ll get it!

Letters stitched on a chain:
Whenever I work with this stitch for letters, I prefer to use two or three strands since using all six can result in thick, fuzzy letters.
Letters stitched with stems:
Stitching letters with this stitch is, without a doubt, the most challenging task. You run the risk of them appearing jagged. However, the right way to do it gives it a rope-like appearance. You must keep the thread on the same side the entire time you work this stitch. Otherwise, the stitch will not be straight.
Four Simples Stitch Patterns You Can Use to Embroider Letters on Fabric
Letters can be embroidered in nearly endless stitch combinations for embroidery. There are hundreds of stitches that you can use to embellish all types of letters, from basic stitches like back and running to more difficult ones, like double chain and French knots (yes, you can embroider letters with French knots). It seems I keep returning to the same four stitches when I embroider letters, despite all those choices. Back, running, split, and stem stitches are easy to learn and apply and come in a variety of styles.
- You should ensure that the thread has been properly ended before starting a new letter. Unlike cursive fonts or very small fonts with close letters, this rule is not affected by connected letters.
- Be sure you know where you will stitch before you begin. Sometimes the stitching locations may differ from those in a letter.
- It may be necessary to stitch some letters in two parts. By wrapping the thread around the original stitches instead of stretching your line across the back, you can quickly reach the new starting point.
- When stitching around corners, shorten your stitch length.
Lettering Using Running Stitches:
After that, we’ll work on Running Stitch. It can be done by sewing or stitching one at a time. It’s best to use both methods when writing letters. The sewing method is best for straight lines. Weave the thread in and out of the fabric as you bring it to the front. Maintain a similar length between your stitches and your space.
Complete the series of stitches by pulling the thread through. Even though sewing is faster, for small curves or letters close together, one stitch at a time is simpler.
Stitch until you’ve reached the end of the word using the four rules outlined above.
Alphabetical Pattern of Natural:
This Nature Alphabet Pattern is a great pattern for stitching letters, which I love to do! Embroidered leaves decorate a set of notes in this simple pattern, which has just three stitches. Monograms or custom words can also be created using samples stitched using any alphabet part.
Best Ways to Embroider Names on Blankets:
Customize a large blanket with a monogram for a newlywed couple or a baby blanket with a name for a maternity shower gift. To make a personalized keepsake gift, you can embroider the letters onto the blanket by hand without any special equipment. Make the custom adornment stand out by contrasting colors instead of the same embroidery thread as the blanket. There are several steps to learning how to embroider on a blanket.
Step 1: Embroider directly on the blanket section that is situated on your work surface. Apply a temporary adhesive spray to a lightweight stabilizer and slide it beneath the blanket. Firmly press the stabilizer onto the blanket.
Step 2: A chalk mark or wash-off fabric pen can be used to write the name on the blanket. Decorative letters can be made with letter stencils if desired.
Step 3: The blanket needs to be inserted into an embroidery hoop, and the hoop should be screwed closed gently.
Step 4: Take two or three strands of embroidery floss and thread them together on the embroidery needle.
Step 5: Under the blanket, push the needle through the first letter and the bottom of the blanket. By moving the needle forward by 1/8 inch, you enable the needle to penetrate to the underside of the fabric. You have now stitched the fabric.
Step 6: Beginning backstitch is a simple method for beginning embroiderers. Move the needle forward 1/8 inch and sew toward the top of the fabric from underneath the blanket. Sewed down to the underside of the first stitch after moving the needle backward by 1/8 inch. Continue sewing this stitch along with each letter. On the wrong side of the blanket, stitch down to the underside of the first stitch.
Step 7: If you are beginning the second letter anew, move the thread to the bottom of the second letter and thread a new piece of floss onto the needle. Continue this process until all the letters have been embroidered onto the blanket.
Step 8: Trim the stabilizer around the letters after releasing the hoop. The little pieces of stabilizer that are still attached to the blanket can be removed by pulling on them. Avoid tugging on the stitching of the embroidery by not pulling too hard.
These are the steps to learn how to embroidery on a blanket!
Let’s add some great machinery to learn how to embroider letter sewing machines!
Towels, pillowcases, and garments can be embroidered and monogrammed with sewing machines. You can sew an embroidery design on a sewing machine in the following manner.
- You’ll need a template to get started
- Be creative in your approach
- Preparation of the fabric where the design will be cut is next
- The design or lettering should be sized according to the space
- Place the design using a ruler on the fabric, then sew it
- Once you have stitched the paper template over the fabric, be sure to use an embroidery needle
- Begin stitching around the lettering
- When you continue stitching, remember to move the hoop
- It is easy to tear the paper because of the fine dotted line created by the needle
- Avoid uneven filling by stitching but not pulling the fabric
Embroidery on a Moving Machine:
Maybe you have heard of the term “free-motion machine embroidery,” or perhaps you have used it before. In addition to being applicable in quilting, it is also applicable in creating embroidered pieces. It has no specific guidelines or restraints, so it is free-motion, so the stitch patterns and lines are completely under your control.
Now practice how to embroider letters differently with their full pack of information!