
How to Embroidery? A Detailed Guide for Beginners
Learn the art of embroidery today. If one knows how to sew, then they can make something on the fabrics using your basic embroidery techniques, whether it’s old, new, borrowed, or something you made yourself! The process of learning embroidery does not have to be challenging, and it doesn’t have to feel like an expensive or time-consuming endeavor
. It’s quite inexpensive and easy to get started! Right now, I enjoy hand embroidery the most. Whenever I’m relaxing in the evening or sitting at soccer practice, I love having something to keep my hands busy. I decided to gather the various posts I have written on how to embroider for beginners into one for this post. Learn how to embroider here.
You will be ready to embroider once you have completed these lessons. To make learning embroidery easier, I have listed the addresses from top to bottom.
What embroidery fabrics should I use?
The very first question that comes to our mind is embroidery fabric. Generally, there is a rule that says you can embroider on anything if you can poke a needle through it. Although I prefer a certain type of fabric to others, there are no hard and fast rules. In this lesson, you will learn about the different kinds of embroidery fabric, why you might prefer one over another, and what you should look out for when choosing one.
Here are Some Tips for New Embroiderers:
There are a few basic tips you’ll need to learn to embroider successfully. Some of the topics I’ll cover include threading a needle, separating embroidery floss, and starting and stopping your thread. Following these tips will help you get started. It will tell you how to embroider.
Beginner embroidery patterns:
Choosing a pattern will help you learn the most since that’s how you know best. This lesson will give you a few suggestions for beginner patterns and tell you what to look for and embroidery into a pattern. Embroidery Sampler Pattern is a free embroidery pattern you can download if you prefer to go simple.
You will need to transfer a pattern onto your fabric once you’ve found a design you like. There are many options available to you!
To start embroidering, you’ll need the following supplies:
Supplies should be gathered. Supplies are, of course, needed before you can begin to embroider. Getting started is easy; just grab some fabric, thread, needles, an embroidery hoop, and tracing supplies. I have gathered all the details you’ll need to start embroidery for beginners successfully, and I’ve included it in this lesson. I’ve added some extras if you want to have more fun with it.
How to embroidery without hoop:
Water-activated adhesive stabilizers, such as OESD’s Hydro-Stick, work well for “hooping without a hoop.” These tear-away stabilizers are coated with a water-activated adhesive.
Choose the fabric of your choice! Linen, quilting cotton, canvas, and osnaburg are some of the good options available! Make sure to weave it loosely rather than tightly.
A floss for embroidery:
There are tons of colors to choose from, and it’s cheap. DMC floss is what I use exclusively. These needles have larger eyes than normal needles to accommodate the floss size. This way will teach you how to embroidery with machines. Here are some of the best embroidery machines for beginners.
Markers and other marking tools should be water-soluble if you use them. Drawing on your fabric will be easier to do if you use them. You can rinse the marked areas with cold water afterward using a water-soluble pen.
Now we Embroider on a Shirt:
The fabric of your choice is up to you! Fabrics such as linen, cotton, canvas, and quilting cotton are suitable. My preferred fabric is linen blended with cotton.
Wooden and plastic embroidery hoops are the most common types, though there are many other types. There are many types of embroidery hoops available at craft stores. Cut the fabric into a square slightly larger than the hoop to use your embroidery hoops. Leasing the screw at the top of the hoop is the first step. The hoops will then be separated. We’ll deal with the outer hoop later! Place it to the side for now.
The fabric should be laid over the plain inside hoop. Once you have the fabric over the inside hoop, you should push the top hoop over that. Between the two hoops, the fabric is sandwiched.
Having tautened the fabric, you can begin tightening the screw a bit. It will make embroidery much more difficult than it should be. Fabric-floating hoops shouldn’t affect embroidery much. Tighten the screw until the fabric is taut and you feel secure. You do not want to tighten it up so much you are unable to move it! If your sore fingers can’t open the hoop after embroidery for a few hours, you’ll regret it.
Now We Learn How to Embroider Flowers on Clothes:
Here’s what you need to do and if you need to learn how to do complete embroidery on clothes, please read our guide here:
- The needle should be brought from the back of the fabric at point A. You will need to move forward a little to the length you want the stitch to be.
- Place the thread near the fabric after wrapping it around the needle twice or three times.
- The needle should be inserted near the point where a knot must be formed.
Satin Stitching Instructions for Making your Shirts or Clothes Beautiful:
Adding satin stitch to your embroidery projects is a great way to add color. You can fill in letters, shapes, and all kinds of things to embroidery with it.
Satin stitch can be created in many ways. If you backstitch a shape, you can outline the shape and fill in the details later. You can also use satin stitch on its own without a pattern. You can create a raised area by backstitching an outline and then satin stitching it completely over.
You can practice satin stitch by drawing a simple shape on your fabric—Backstitch around the body. Afterward, you’ll go back and forth over the form until you’ve filled it in.
Two characteristics of satin stitching are:
- As much as possible, stitch the satin stitch near the outline. The straight stitches and seed stitches can cover up the bald spots at the end, but it is easier if you get it right the first time.
- The back of your work should not be stitched with a satin stitch. As a result, your work will be bulky because your thread will be wasted. To avoid this, place your thread directly adjacent to the outline on the left when you start stitching. It can be brought across, then down next to the outline on the right. Rather than crossing over to the left side of the fabric’s outline, get the needle back up right next to where you just pushed it through. In this way, you will save yourself a lot of time and thread.
Here are More Stitches That You Can Use in Embroidery:
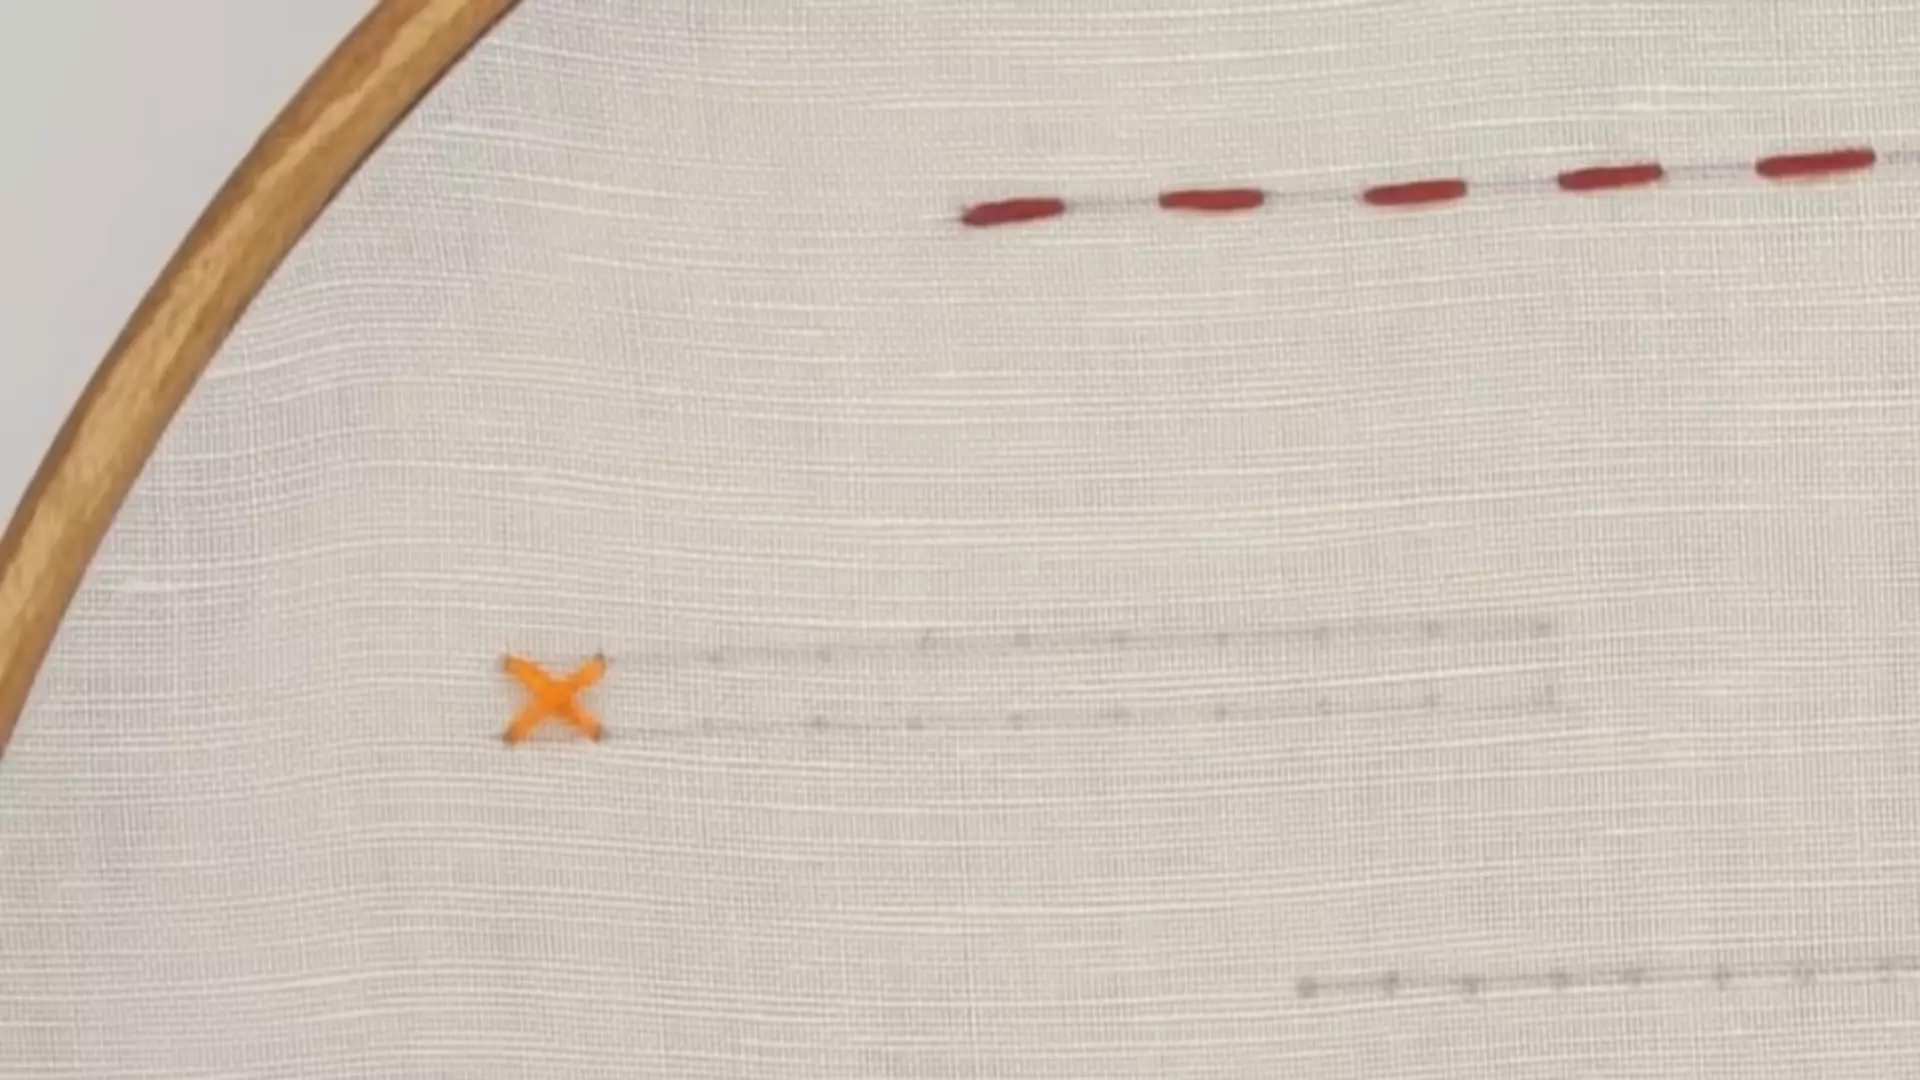
Straight and Seed Stitches:
During this embroidery lesson on how to embroidery, you will learn a Step-by-Step Guide for Straight Stitching and Seed Stitching.
Running stitches are similar to these – you just don’t follow a line! They are usually placed very randomly. There is no limit to how long straight stitches can be, and they are great for filling in areas where lots of texture will be present. The seed stitch is very tiny – you will catch just a few threads with this! This technique is frequently used for filling in areas. In addition to filling in things, straight stitches can also add detail, shade, etc.
Stitches vary from embroidery pattern to embroidery pattern. Basic embroidery stitches are great for making flowers, letters, and pretty much anything you can imagine.
Recommendations and additional information on how to embroidery:
You can create your embroidery patterns by:
Additionally, I published an instructable on embroidery patterns, which should be helpful if you’re just getting started! You can use water-soluble markers to create a pattern on the fabric, or you can use iron-on transfers or carbon paper to copy a design onto the fabric.
If you haven’t learned how to embroider from a pattern, I recommend jumping right in and trying it. Don’t worry if your stitches aren’t perfect. It’s the imperfections that give your piece its character. If not, it would look like it was manufactured. Hand embroidery has the advantage of being reversible, so you can always take out the stitches and redo them. Have fun and find a new hobby that you enjoy!