
How to Digitize Embroidery Designs
Within time embroidery artwork became popular in the fashion industry. Numerous techniques and different types of embroidery machines and other materials are introduced in the market that supports the growing embroidery business at higher levels.
The embroidery business is based on various procedures according to working mode. You can do this artwork using hand sewing and embroidery machines. The most asked question from beginners is how to digitize an image for embroidery.
Embroidery digitizes the specific process of converting artwork into a digital file by utilizing the software. The digitizing of embroidery design is not the simple process of uploading the images onto a computer. Because computers understand the mechanism, but for embroidery machines, you need to digitize the methods according to a machine you are using. Because in this way, the machine can understand the needle and start working.
What is embroidery digitizing?
The advanced world where various tasks are performed utilizing the latest techniques. The same scene you can find in the embroidery procedure where you need to digitize the embroidery designs with specific software support.
Converting artwork into the digital form with software is known as embroidery digitizing. This software provides instructions to the embroidery machine about the working path. In other words, embroidery digitizing is the process that involves the creation of files with the support of software. These files then direct the machine for proper working.
These files are arranged according to the kinds of machines you are using. Creating these files is that embroidery machines can’t understand the files as the computer can. Therefore there is a need to digitize embroidery designs.
The point of discussion is how we can digitize the embroidery designs. This means what steps in the digitizing procedure and noted software we can use for this purpose are.
Kinds of embroidery files by machine
As discussed above, the file we get is adjusted according to the type of machines we are using for the embroidery digitizing. The different file formats according to devices are listed below. By understanding them, one can select related files according to their machine.
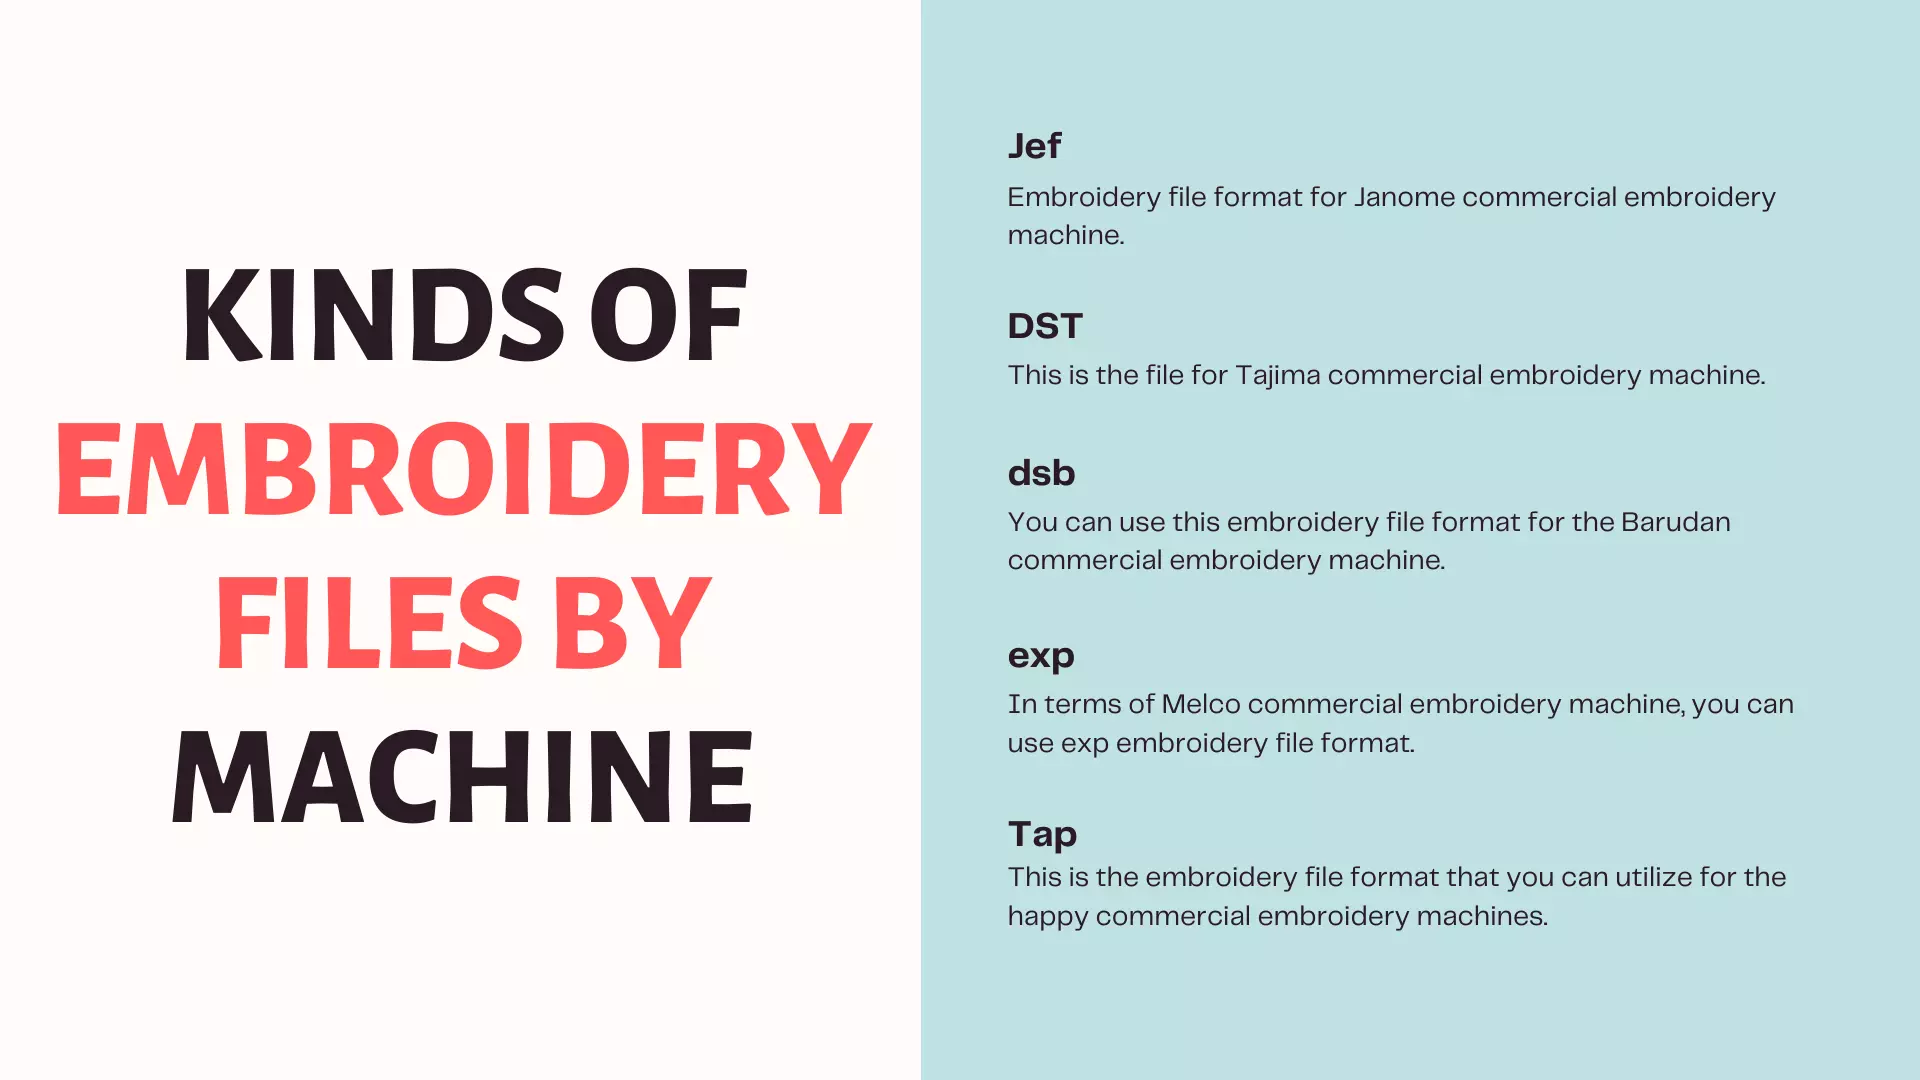
Jef: embroidery file format for Janome commercial embroidery machine.
DST: this is the file for Tajima commercial embroidery machine
dsb: you can use this embroidery file format for the Barudan commercial embroidery machine.
exp: In terms of Melco commercial embroidery machine, you can use exp embroidery file format.
Tap: this is the embroidery file format that you can utilize for the happy commercial embroidery machines.
So these are famous embroidery files for the specific embroidery machine that can use for digitizing purposes.
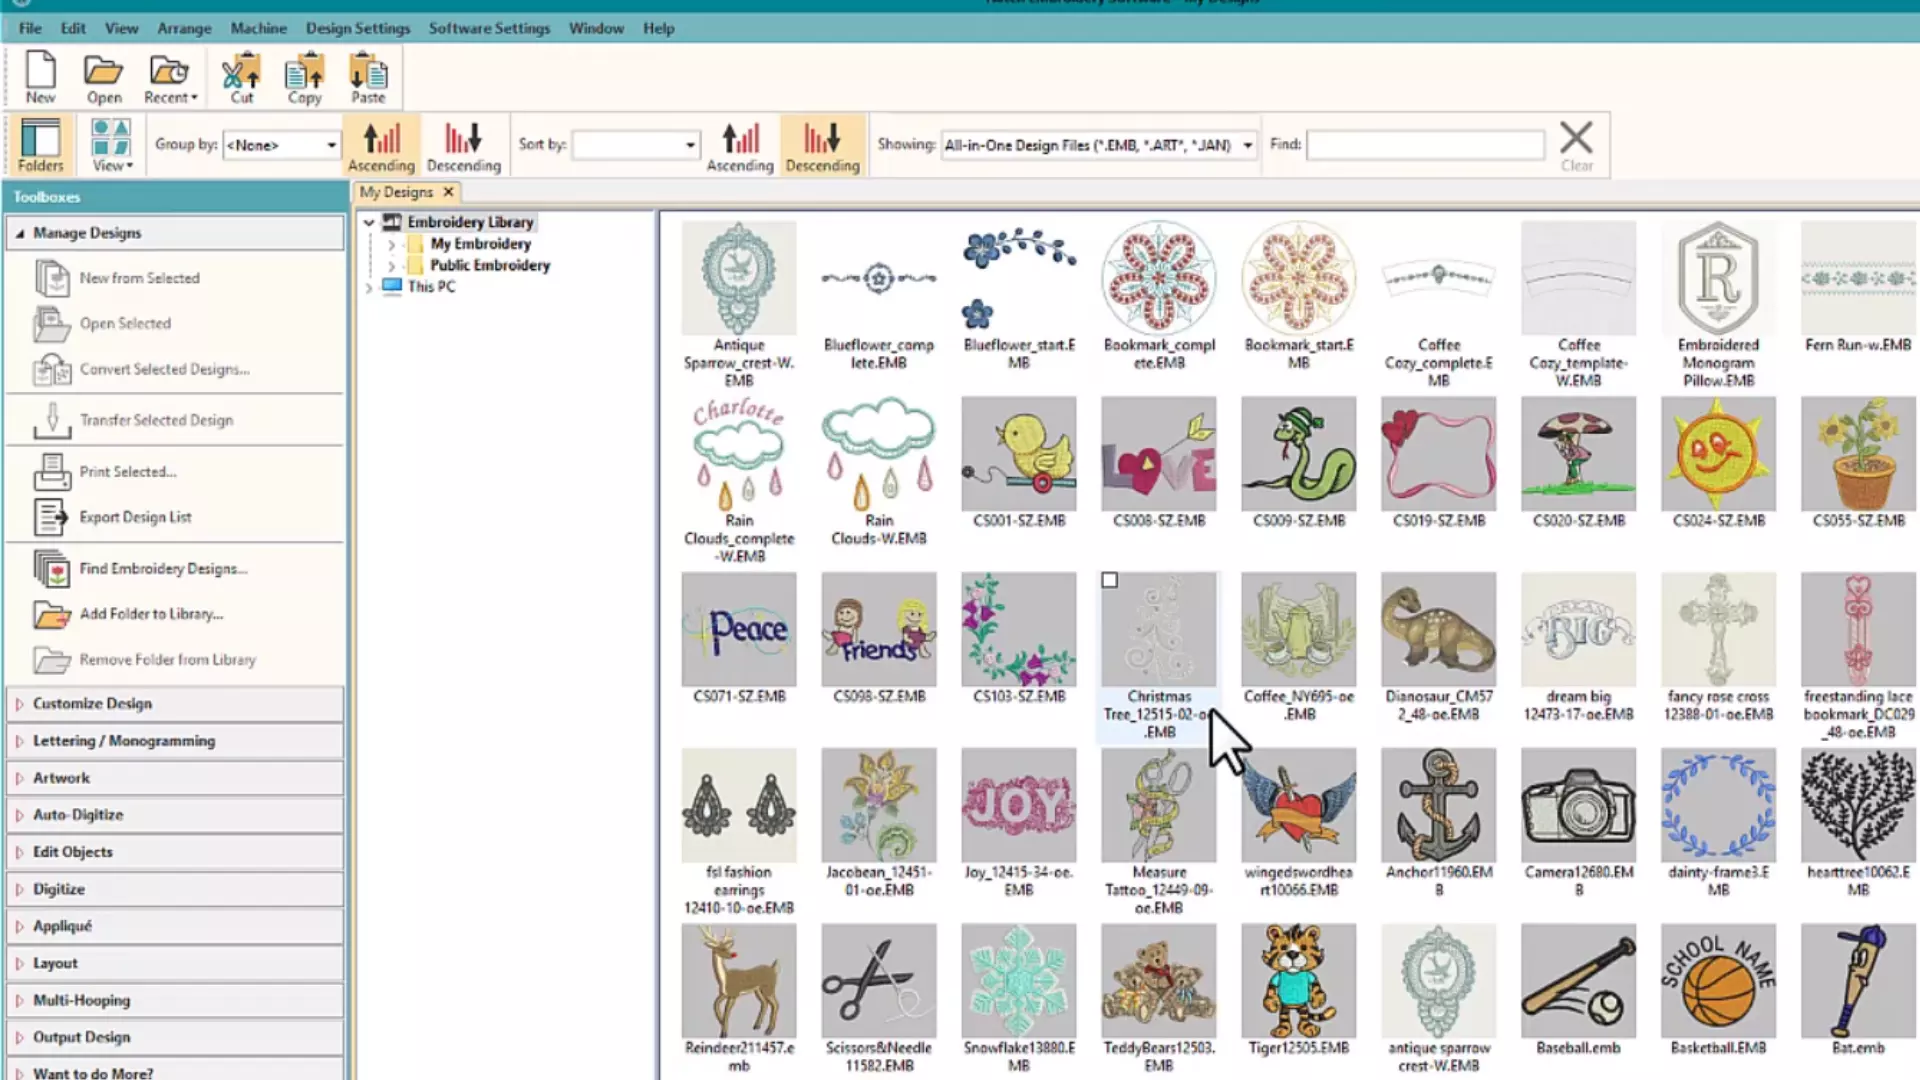
Digitize Embroidery Software selection
When you select the type of embroidery file format according to the type of your machine, then you move to another step, which is based on the selection of software. Because for converting artwork into a file, you require the specific software you shall need to install on your computer.
Now we proceed to the list of popular digitizing software that you can use
- Husqvarna premier embroidery software
- Welcome Advanced digitizing software
- Brother embroidery design software
- Embroidery machine-independent embroidery software
So these are noted software that you can use to digitize the embroidery. Most of the users wanted to know about the best embroidery digitizing software. So which according to our research is the Welcome Advanced digitizing software that fills your all requirements.
Embroidery Digitizing Software Free
The embroidery digitizing software is the way that transfers the pattern to outline stitches .There are various embroidery digitizing software free that you can use with numerous features like changing color, stop, start, and countless others. Let’s move to the free embroidery digitizing software.
- Hatch
- My editor
- TrueSizer
- Embird
- TrueSizer
- Sophie’s
- Ink/Stitch
So these are free embroidery digitizing software that is available with many elements.
The Procedure of Digitizing Embroidery Designs
When you complete selecting machines and software according to your requirement, you need to follow the given steps.
Transfer designs to the digitizing software
First, users need to upload the design file, either in JPG orPNG, etc., into the software program. After this, set the design’s image according to your style and cut out the ones that won’t lead to embroidery.
The setting of design size
The second step is based on the setting of the size of the design. In this step, you need to set the dimensions of designs carefully. Because the extent that you set here is that you get for your products, be careful in developing the embroidery designs. Another main point for remembering is saving your image before moving to the next step.
Selection of stitch kind
This is where you need to select the stitch type for your designs. You can choose a wide variety of stitch styles for giving a unique look during selection; you can consider numerous things like fabric kind, push-pull of the garment, and find each static in its maximum length. Now we proceed to the three popular stitch kinds that you can select.
Satin stitch
This is the type of stitch that you can use for the embroidered text. It is the best type of stitch that you can use for stitching letters. As you select the thread length, it would give you a more suitable appearance.
When we talk about the maximum stitch length, it is about 12.1 mm. Staining stitches are commonly used for the borders, words, and texts and for getting a shiny look.
Straight stitch
The other style of stitching that you can select is the straight stitch. It is the type of stitch in which straight lines of stitches are repeated for making the pattern. You can develop the thick stitch through stitch by repeating the straight stitch many times.
The point to note is that straight stitches are not just used for the straight lines; you can also use them for the curved lines. The consecutive stitches are commonly used for shading in embroidery design, outlining, and detail work.
Fill stitch
You can identify this type of stitch by its fill stitch, which means it fills in the patterns. The maximum length for the fill stitches is about 4mm. And these are used for the larger designs, more durable applications, filling in the blank space, and creating a textured look.
Arrangement of stitch direction
The reason for arranging stitch direction is essential for better understanding machine working. That means when you set the stitch direction correctly, it will guide the device smoothly. So you should need to select the stitch direction in a better way.
Selection of embroidery threads color
This step needs to select the embroidery thread color that perfectly matches their design colors.
Transfer the embroidery file to your embroidery machine
This step is about transferring the embroidery file, which is with Jef,exp, etc., to the embroidery machine by utilizing the USB cable or directly from the embroidery software. Set the embroidery machine for working’
In setting your embroidery machine for the embroidery, you need to keep certain things in mind to get smooth and accurate results.
Set the machine according to your design requirements and inform it about elements like thread needle orientation and another sequence. And set your fabric in an embroidery frame.
Check your embroidery work.
After completing all steps, you need to check the working procedure of your machine. The machine takes only a few minutes to test again for your specification in case of finding any fault.
Embroidery digitizing services
Embroidery is a rapidly growing business in the fashion industry because of its uniqueness. In this regard, users can access numerous embroidery digitizing services that accurately meet your all demands in time. Through these services, users can get the complete package for the projects.
When we talk about the noted embroidery services, they include digitizing services. There is given the list of services which is below:
- Logo digitizing
- Applique digitizing
- 3D puff digitizing
- Embroidery digitizing
- Convert image to embroidery
- JPG to embroidery
- T-shiny monogram digitization
- PNG to embroidery digitizing
So these are certain services in digitizing embroidery that you can avail of. Users can acquire benefits from the embroidery digitizing online services. These online services are quickly responsive to customers’ demands in providing all kinds of digitizing embroidery services.
Various companies get excellent digitizing embroidery services with lots of comforts. This means online digitizing services are the fastest and provide accurate results according to customers’ demands. Overall, these are services that you can avail yourself of easily with numerous advantages.
Wrapping it up!
This article is about the discussion of the most asked question is how to digitize embroidery designs perfectly. Embroidery digitizing is converting artwork into a file by utilizing specific software. Here we discuss every factor that is related to embroider digitizing designs. We hope you like the topic.