How to Embroider Clothes? A Comprehensive Guide
It turns out that learning to embroider isn’t as difficult as you think! You can complete your first embroidered garment with a simple hack. You can now know how to embroider clothes in just a few minutes.
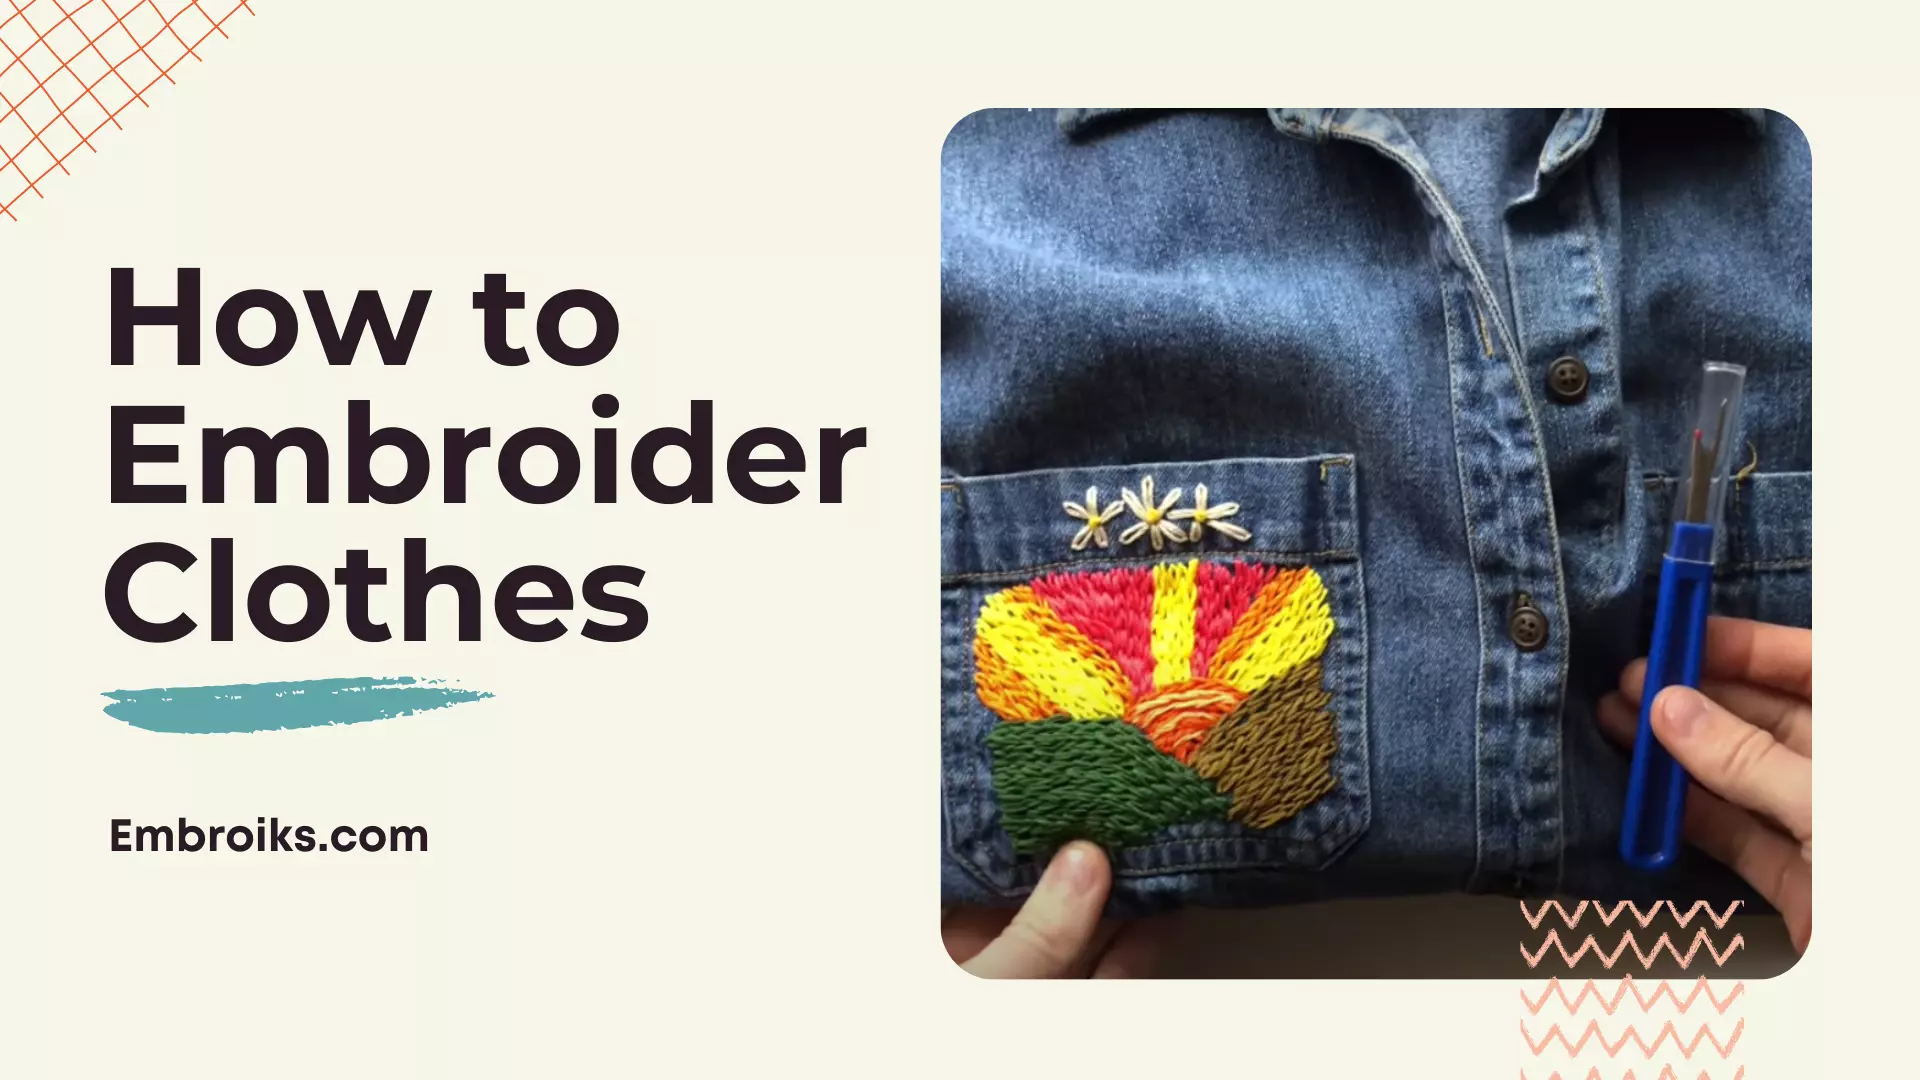
Giving an old shirt or pair of pants a new lease on life is easy with hand embroidery on them. Let’s start to give life to your wearing with your taste!
There have been a lot of simple line drawings of faces everywhere lately. As well as experimenting with embroidery on a pair of jean shorts to see how it will look.
Learning How to Embroider a Sweatshirt by Hand:
Hand embroidery is much easier than it sounds, especially with the embroidery tip I’m sharing today. Getting the hang of beginner embroidery like this will enable you to skip the embroidery guides in no time and go straight to freehand drawing on clothing. When you embroider clothing this way, you will save time and money.
It’s a great way to get started with embroidery if you’ve never done it before. This technique can also be used to create any design, drawing, or doodle that you want. I have also provided a free download for this design below, so you can use it if you’d like.
Embroidery Materials Required:
- Thread or floss for embroidery
- Stitching needle (or any needle with a large enough eye to hold embroidery floss)
- Clothing that you want to embroider, such as a pair of jeans or a tee shirt
- Cutters
- Pins with straight edges
- The paper used for tracing or printing
- Print a face design
How to Embroider Clothes Easy Way:
Use a free download to draw a design:
You can start by drawing a design on very thin paper (tracing paper works great for this). Alternatively, you can print out the downloadable face design here.
Cut the design:
Make sure you leave some space all around the design, so you don’t have a large area to sew around when you cut the design.
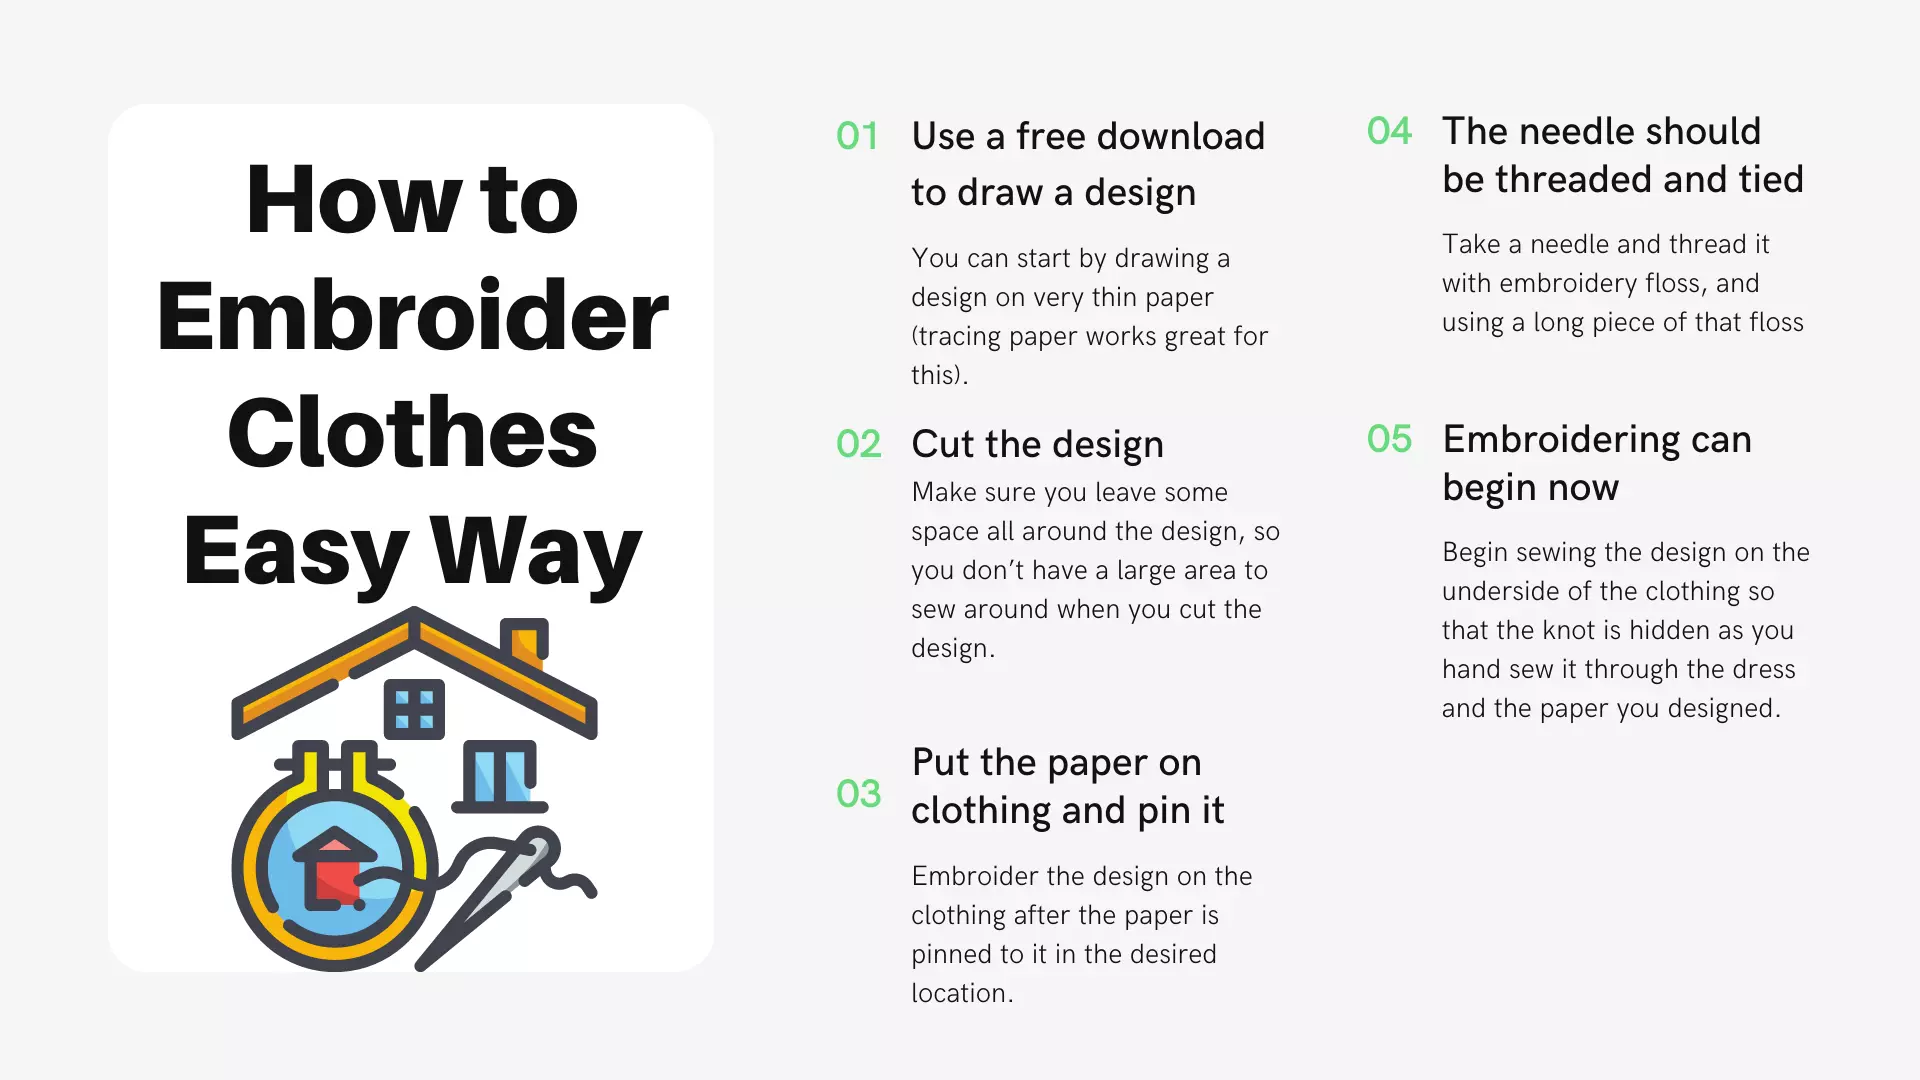
Put the paper on clothing and pin it:
Embroider the design on the clothing after the paper is pinned to it in the desired location. When you use tracing paper to make the design, you can see through it to determine where it should be placed about pockets, seams, etc.
The needle should be threaded and tied:
Take a needle and thread it with embroidery floss, and using a long piece of that floss, knot it twice or three times in the end (make it twice or three times as long as you think you’ll need, and double the width if you want a bold or thick line).
Embroidering can begin now:
Begin sewing the design on the underside of the clothing so that the knot is hidden as you hand sew it through the dress and the paper you designed. The photo shows how to stitch the design through from the underside. If you’re unsure what stitch to use, just pick any simple one that feels comfortable.
Try These Stitches for the Simplest and Most Basic Embroidery
Running Stitch:
Straight stitches are the most basic embroidery stitch and are also known as straight lines. The needle will be threaded through one side of the fabric and then through the other, leaving a small gap between each stitch.
Backstitch:
It is the perfect design technique for tracing paper since the backstitch creates a solid line. A backstitch is made by starting with a simple stitch. Afterward, skip the first stitch to make the second, and then go back to the last stitch to attach the second to the first.
Stitching on the split stitch:
In addition, this stitch is useful for the design and technique shared here. You can divide a stitch by pushing your needle through the middle of the stitch you just made and creating a new stitch. Continue to do this until all the stitches are divided.
Twist the thread once again:
To secure the remainder of the design, tie a double or triple knot on the inside of the garment once more. If necessary, trim the excess material.

The paper should be ripped from the design:
Afterward, simply rip off the paper by hand, and you’re ready to wear it. But you have to be careful. The embroidery floss design should not be aggravated or caused to fray/bunch up in any areas.
There are Several Types of Fabric:
The design by hand teaches you how to embroider on medium-weight fabric that does not contain too much stretch. Over time, it will become easier to embroider, and it won’t tend to shrink or warp so much. Denim, linen blends, cotton canvas, and cotton canvas blends are excellent choices.
In any case, if you want to embroider on stretchy clothing, you can read this post that has some tips on how to make it easier.
Preparing Your Clothes
Let’s prepare your clothes for embroidery in How to embroider a shirt without a stabilizer.
If the clothes are brand new and you have never worn them before, I recommend washing them first, just in case they shrink. When using the embroidery floss, I recommend DMC Floss; the colors should not bleed. I would not use off-brand floss for this project since this floss is really good quality, and I believe it will stand the test of time.
I am getting started with embroidery requires; what supplies?
There are only a few supplies you need for this embroidery technique for beginners. You can invest in a few inexpensive items like an embroidery hoop, water-soluble pen, etc., after you give it a try and decide whether you want to keep up with this skill.
How to wash and take care of embroidered clothing?
If you didn’t prewash it, the embroidery thread might bleed into nearby areas. It is especially true of deep reds, purples, and blues. However, you should not be alarmed if they do. There is a way to resolve this. The dye that runs out of the fabric will wash out if you rinse it in cold water soon enough. At least the first time you wash the embroidered garment by hand after coloring, separate the embroidered apparel from the rest. Follow these steps.
- First, mix a very mild detergent with some lukewarm water to wash the item. You can spot clean stains with dishwashing liquid if there are any in the clothing. In a bowl, mix 1 tsp vinegar with some cold water. Soak the dress in this solution for 20 minutes.
- Rinse it with plain cold water many times after you take it out. Rinse it as many times as necessary to remove the blood whenever the thread is bleeding. Allow the clothing to dry quickly after washing.
- To avoid ruining embroidery, place the clothing between thick towels to soak up the water instead of wringing it. To speed up the process, you can use a hairdryer because for the thread color to spread again; the cloth must be wet. Don’t hang the clothes in the shade to dry. Lay them flat instead.
- Once the garment has been washed, you may wish to wash it in the washing machine. Wash your clothes using a laundry bag. You can find instructions on making a laundry bag for washing undergarments here. A bigger size is available for larger garments as well. When washing this garment, use a soft/delicate cycle with mild detergent while keeping it inside this bag. Rinse your last rinse with vinegar to brighten your colors. As you iron your clothing, you might want to preserve any stitching details you’ve done or any beautiful 3-d flowers.
- The embroidery should never be ironed over, especially the dimensional stitching. Let it dry before pressing if you need to iron the embroidery wrong side up. As you iron the embroidery part, keep it cushioned on fluffy towels to protect the textured surface from damage. When embroidering, be careful of using the steam setting in your iron, especially if the thread is bleeding.
Do you know how to embroider jeans?
If your jeans are stretchy or not, it will make a difference. It will also make a difference where
you want the embroidery. We will assume that you would like to adorn a stretchy pair of jeans with embroidery. Then resembles the embroidery process on a t-shirt. That means that you need to be careful when pulling your stitches to avoid drawing too hard. Unless you are very careful, the fabric will create bubbles.
Moreover, the stitches will make the embroidery too small and tight for you to put on the jeans smoothly. The process becomes easier the moment the jeans are not stretchy. For example, you can use a hoop without any risk, stabilizing the fabric and your stitches. When embroidering on a pocket, be careful not to close the pocket. Place a piece of paper or something similar to serve as a blocker in the bag.