
How to Make Patches with the Embroidery Machine
The overtime fashion industry turns the ways and turns old fashion into fabulous designs by utilizing advanced technologies. A famous example of this old fashion that is trendy nowadays is attaching patches on fabrics by using various sources. Old gold is famous for saying that you can view the creations of the fashion industry.
When we talk about the fashion of sticking patches on the fabrics, it has different ways like a stick with iron, pin, sewing machine, and embroidery machine. Here, the point of discussion is how to make patches with embroidery machines to get the required output. It is a general question that many people ask because it is a very profitable and more straightforward business nowadays.
Moreover, creating patches with an embroidery machine is not a difficult task. You can start the high-standard business of making patches with embroidery machines even on a low budget. In this topic, we discuss the creation of patches by utilizing the embroidery machine.
Guide for How to Make Patches with an Embroidery Machine
The world is running on advanced technologies, where you have lots of options for starting a single business. Nowadays the fashion of patch attachments on fabrics is on-trend. You can make a unique and attractive look for materials by affixing patches on them.
Therefore people’s interest in this fashion is increasing with every passing day. And they wanted to know how to make the professional patches. Because of growing business at higher levels, you need to learn every step of making patches with an embroidery machine.
The other common question that numerous people ask is how to create the patches by utilizing the embroidery machines. So it is simple to make patches with these advanced embroidery machines.
The Procedure of Making Patches with an Embroidery Machine
Let’s move to the main steps that support you in learning how to make patches with embroidery easily.
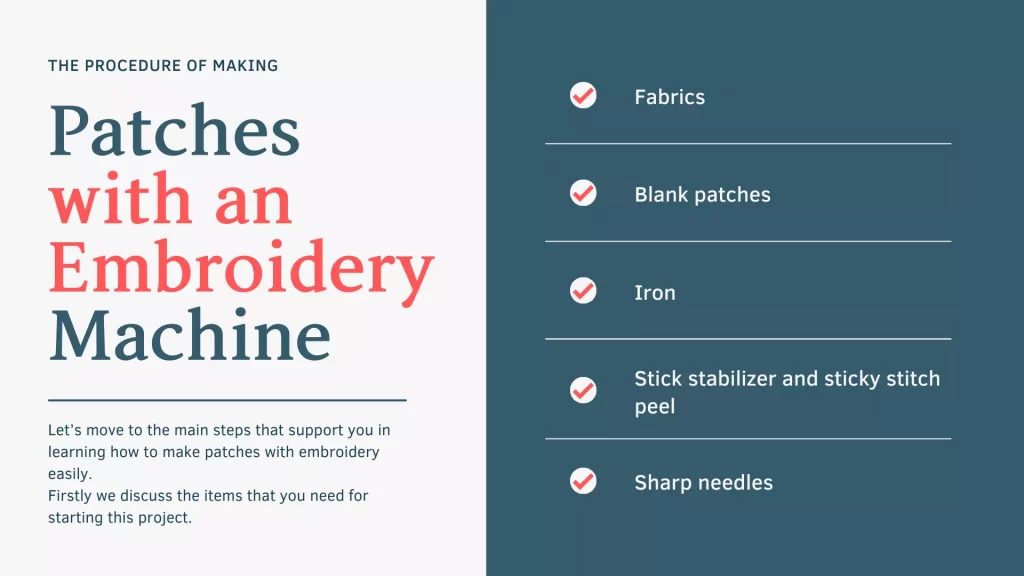
Firstly we discuss the items that you need for starting this project.
- Fabrics
- Blank patches
- Stick stabilizer and sticky stitch peel
- Iron
- Sharp needles
So these are specific items that you required for making the patches on an embroidery machine. We proceed to the steps you need to follow to create patches using an embroidery machine.
- First, you need to ring the sticky stitch peel and stick stabilizer. After this, you need to score the wax paper and then clear it off to reveal the sticky stabilizer beneath.
- In the second step, select the 4 square blank patched, and then by using an embroidery machine, stitch the outline of the patch on the sticky stitch peel and stick stabilizer.
- Now pick up your patch and set it over the line you want to be embroidered. Here you need to focus on the point the patch must be straight and in the center.
- Then start embroidering your design on this patch by utilizing the embroidery machine.
- After completing the design, you need to remove the patch from the stabilizer. You need to seal the back and set an iron-on patch for heating purposes.
- In this step, you need to take the Fuse-N-Bond Heat Seal film and cut it in smaller sizes than your patch.
- Most people get confused on this step about iron-on patches with an embroidery machine. People’s commonly asked question is how to make iron-on patches with an embroidery machine. So through this step, you get to know the use of iron-on patches with an embroidery machine.
- For starting the procedure, you need to use an iron having a temperature of about 260 degrees and then press and hold for about 4 seconds on the patch.
- After cooling the patch, pull the wax paper carefully. Sometimes wax paper comes with wax paper, which means you can’t provide the heat and pressure that is needed for affixing.
- Finally, you can successfully make patches with an embroidery machine by following all steps.
So these are specific steps that you can use to quickly create patches on the embroidery machines and run a profitable business.
How to Make Embroidered Patches with the Sewing Machine
When we talk about the embroidered patches, you can create the cloth badge using fabric back and thread. It is a beautiful old art that can be transformed now into a modern form because of advanced technologies and new sources.
Here we discuss how to create the embroidered patches using the sewing machine. You can easily make the embroidered patches on the sewing machine with zigzag functionality. And then adjusting the width of the stitch, lowering the feed dog you can start making embroidery patches with a sewing machine quickly. Embroider patches are specific pieces that are designed for decorating the fabric.
Let’s know about the essential points of creating embroidery patches through the sewing machine.
- Firstly adjust the fabric under the machine foot and then lower the feed dog that supports easier moving.
- Then you need to adjust the width of the stitch that suits your designs perfectly. And fill the bobbin with threads to avoid inconvenience during stitching.
- And start running the sewing machine by focusing on the fabric stretches in the presence of patches.
How to Embroider a Patch by Hand
When we talk about embroidery art, it has numerous ways to embroider patches on fabrics. You stick patches through pins, iron-on by sewn and utilize countless modern methods.
Let’s talk about the popular methods that allow you to embroider a patch by hand.
Arrange Embroidery Material
First, you need to arrange some basic embroidery materials that support completing your embroidery patching by hand when starting embroidery by hand. There are given materials that come into use.
- Embroidery hoop
- Suitable material
- Needle and thread
- Two pairs of succors
- Pen with disappearing ink in terms of drawing purpose
So these are materials should you need to arrange for the embroidery by hand.
Ring the fabric
In this step, you need to ring the fabric. But you shall need on the selection of hoop size that must be one inch to 20 plus inches in diameter, and you can find it plastic or wood material. So select the hoop that you can easily handle.
After this, you need to hoop the fabric by separating the outer and inner circles by loosening the screw on the outer ring.
Select the Pattern
In this step, you shall need to select the pattern you want for designing.
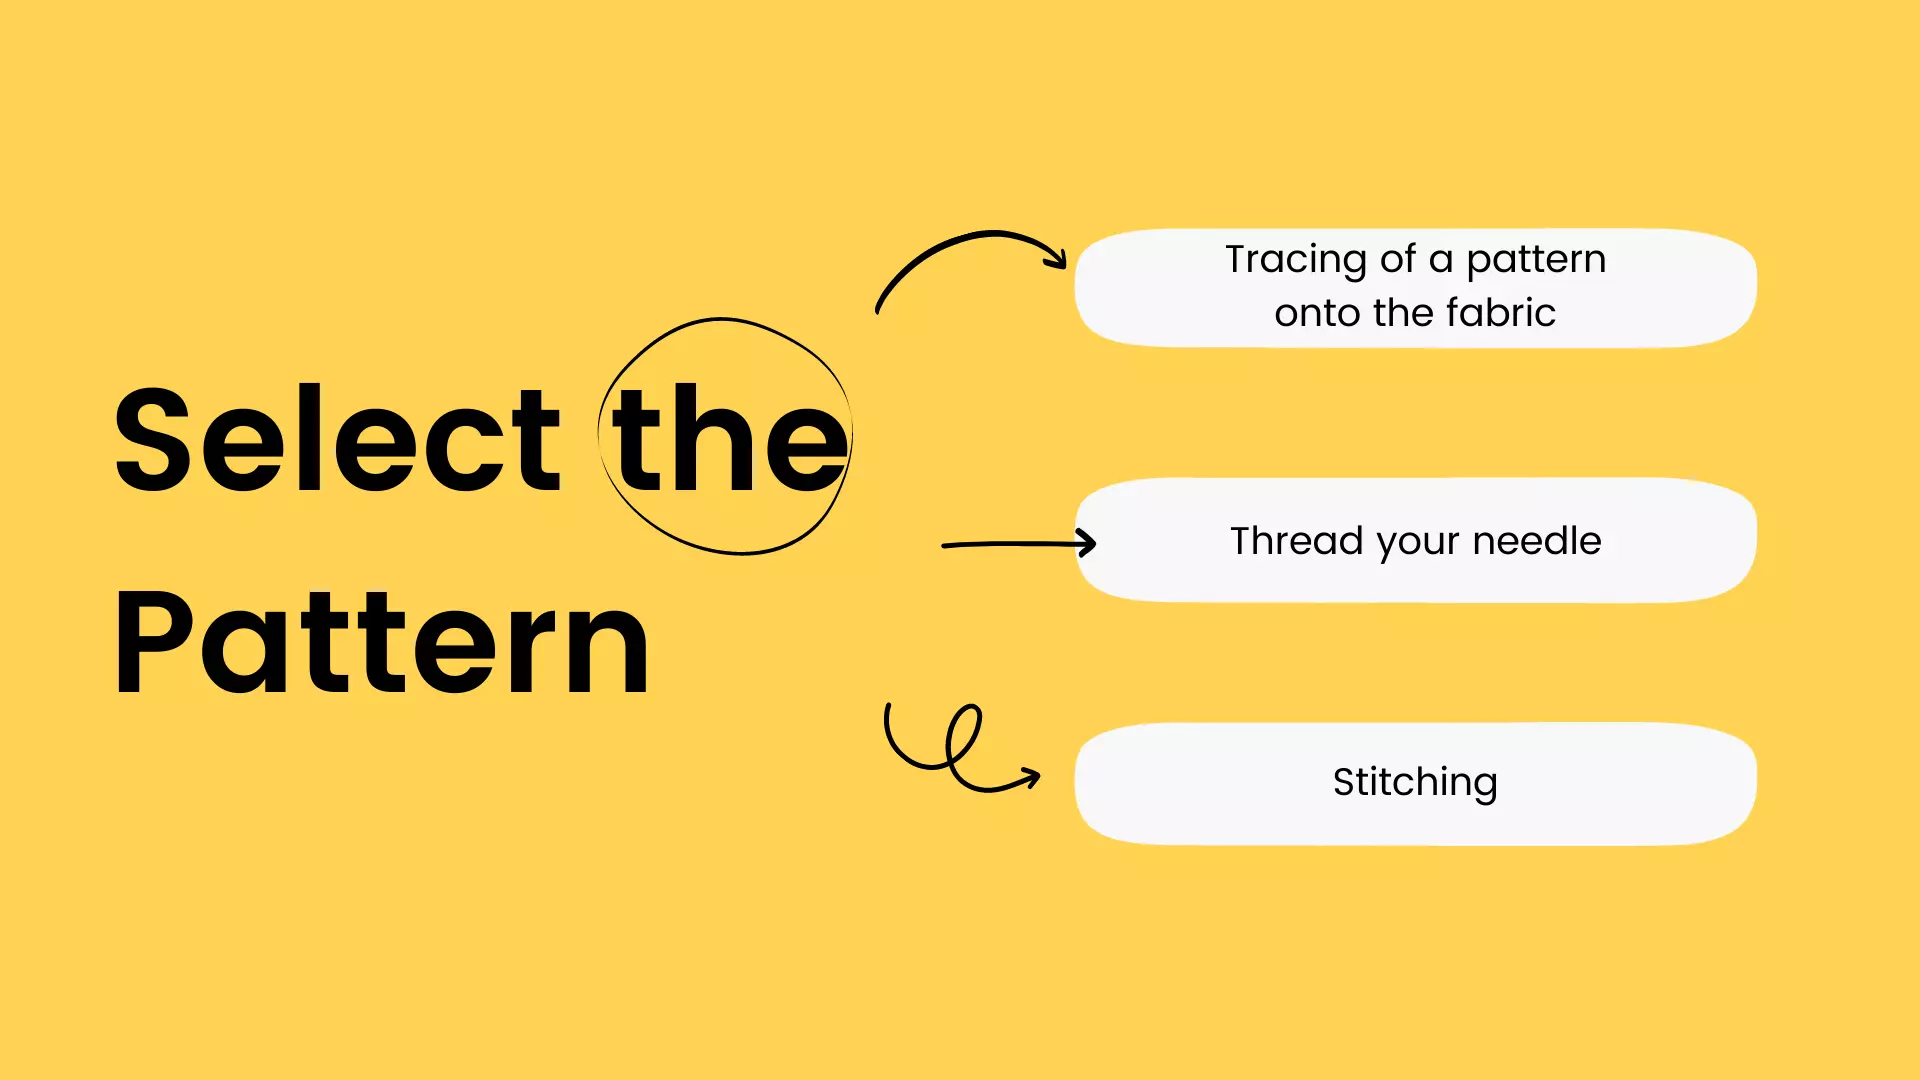
1. Tracing of a pattern onto the fabric
Now you need to trace the pattern that you select onto the fabric carefully by using the removable ink and tracing it on the material’s backside.
2. Thread your needle
Here you are near the final steps to pick the needle and thread it in according to your requirement.
3. Stitching
When all the embroidery procedures by hand are completed, you need to decide what type of stitching you want to start. In this way, we suggest you begin the backstitch from any place of your pattern.
So these are some basic steps that you need to take to embroider a patch by hand. So by following these steps, you get that creating patches with embroidery is not a big deal.
Commercial Patch Embroidery Machine
In this modern era, everywhere, you find the fashion of embroidery patches. In any field of life, you get the art of embroidery first on their fabrics. In other words, it has become the demand of this modern world. So running the business of embroidery patches proves profitable.
When we talk about the commercial embroidery business, adding embroidery patches is the first requirement for growing the business. In the old-time, embroidery art was done by hand, but now the trend has changed.
Different high-quality embroidery machines are introduced that provide quick, smooth, and required results within time. Other commercial patch embroidery machines are present in the market, having different rates.
So whenever you need the commercial patch embroidery machine, you need to focus on following steps that support you in getting your required results.
- Select the machine with a high rate of stitches per minute to complete the project soon.
- Always consider the best memory capacity for remembering the designs for a longer time.
- Before buying the commercial patches machine, you need to look at the auto thread cutter for getting a smooth embroidery process.
There are given best embroidery machines that you can select for growing your business at higher levels.
- CAMFive CFSE-CT1502-5D
- CamfIVE case dm1501
- Janome MB-4N
- Janome MB-4S
- Singer 20U109
So you can select them for getting the desired results in your embroidery patches business.
Final Thoughts
This article discusses how to make patches with an embroidery machine in detail. Here we talk about all factors that support your embroidery patches business while providing information on embroidery machines and different ways to embroider patches onto the fabrics. Through this topic, you get to know embroidery by hand, commercial embroidery machines, and professional embroidery style with complete descriptions.