How to Applique With an Embroidery Machine
One of the things you can do with an embroidery machine, especially if you’re new to embroidery, is applique all kinds of things! I want to show you how to applique with an embroidery machine at this place. However, you could use this method with a few slight modifications for many other machines.
Using a Brother Embroidery machine, I’ll show you how to design your applique using built-in frames. Once you understand how appliques are stitched and created, you’ll realize how easy, fast, and enjoyable it can be to make them!
How Does an Applique Work?
The applique is one piece of fabric stitched over another, and there is a decorative border around the edges.
A piece of fabric is used instead of thread to fill and color a design. It saves line and decreases thickness and puckering on techniques that may be too stitch dense otherwise for lightweight fabrics.
Your machine has less active stitching time for appliques, meaning you spend more time interacting with it. The fastest and most accurate way to sew an applique is with a sewing machine. However, appliques can also be created by hand, sewing machines, or embroidery machines. Here is how to start
Do You Have the Ability to Applique? What Fabrics Do You Recommend for Applique?
Any item that can be embroidered can be embellished with an applique (within reason). My favorite items to applique are shirts, sweatshirts, towels, blankets, onesies, and even baseball caps. From now on, these items to be embroidered will be referred to as base fabrics.
The fabric you pick for your applique project is also important. You can use cotton (my personal favorite is quilting cotton), denim, canvas, Minky, lace, twill, felt, faux leather, terry cloth, and even knit fabrics.
If I want fabric, I dig through my scrap fabric stash or clothes I plan to repurpose to find it (read about where to find cheap fabric to repurpose for some examples). The most important thing is that the fabric is prewashed, and it’s compatible with your needle, thread, and embroidery base.
The Common Components of Applique Embroidery Designs:
It is common for most machine applique designs to have three common elements, although the specifics may vary between digitizers.
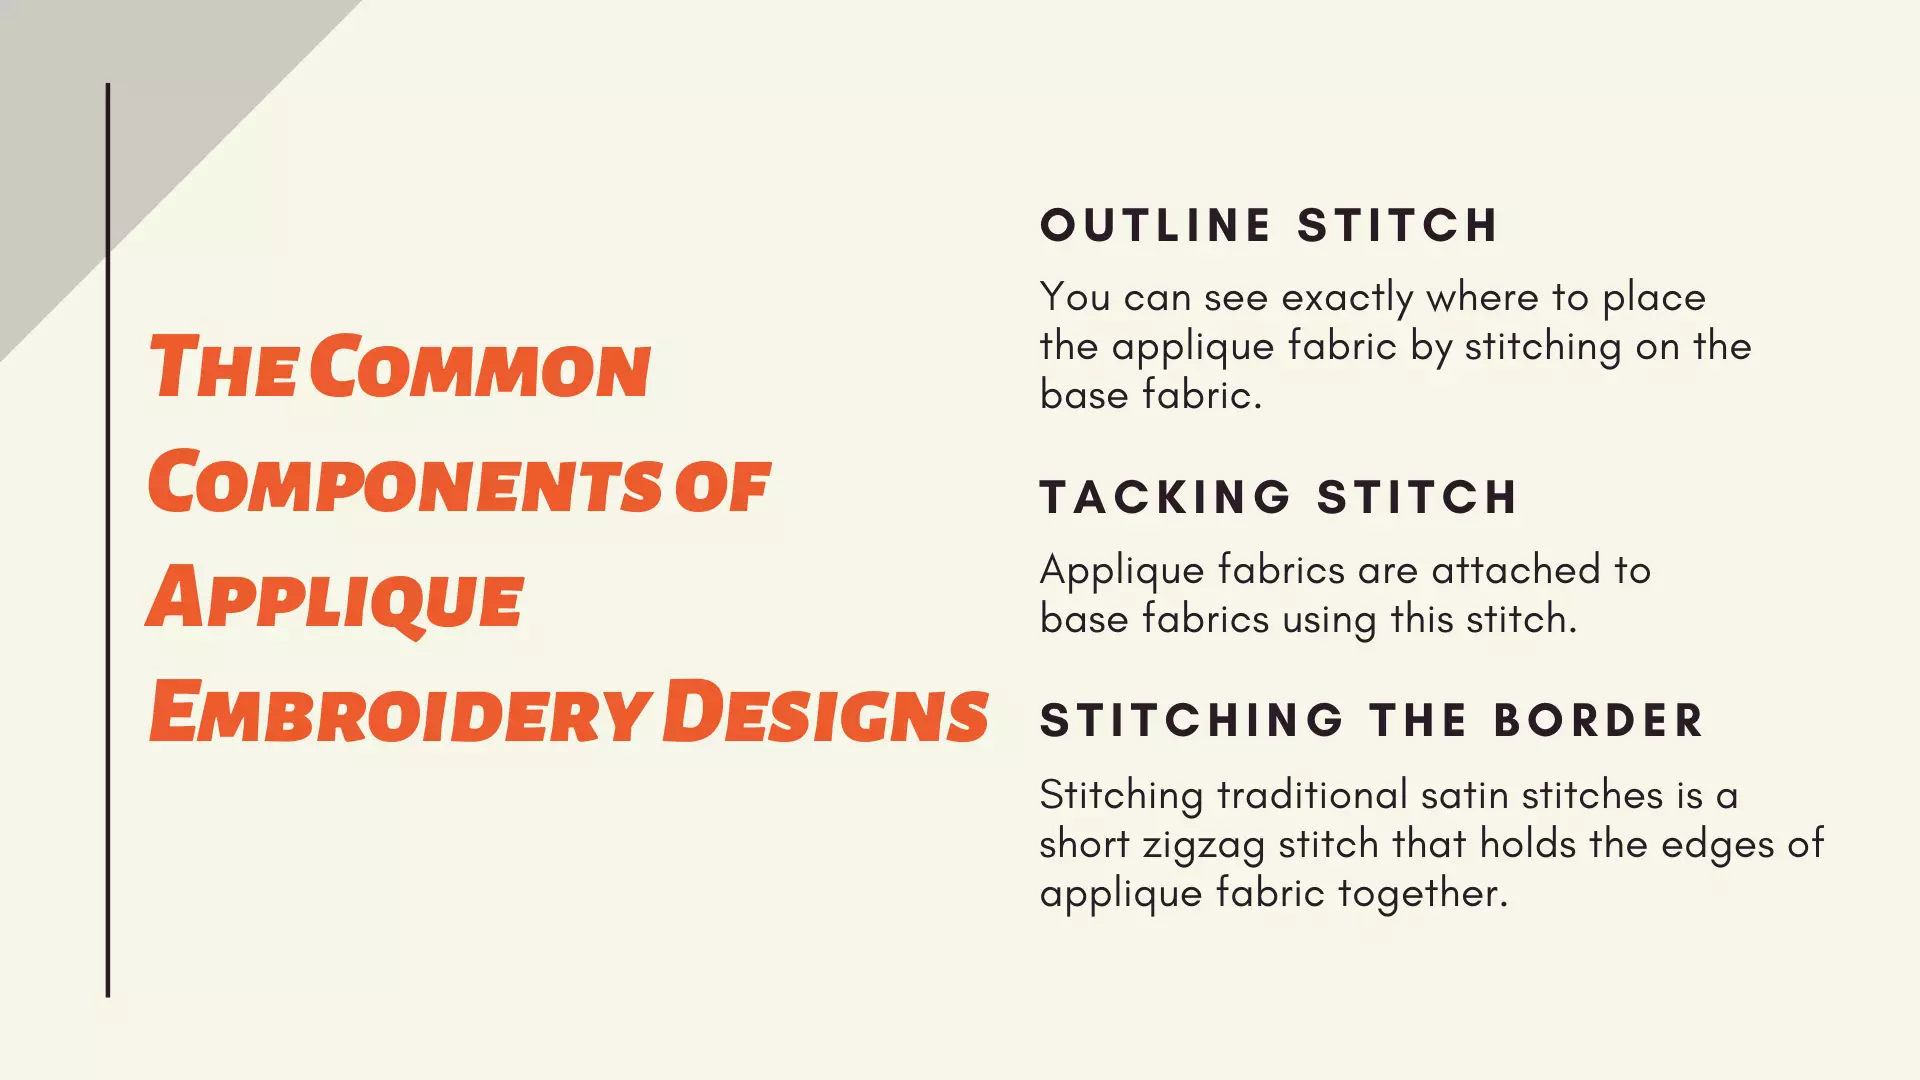
Outline stitch or placement stitch:
You can see exactly where to place the applique fabric by stitching on the base fabric.
Takedown or Tacking Stitch(es):
Applique fabrics are attached to base fabrics using this stitch. Depending on the digitizer and embroidery program, this can be a running stitch, zigzag stitch, or running stitch followed by a zigzag stitch. Also have a look at how to digitize a design.
Stitching the border:
An applique’s edges are finished with a border stitch, usually a satin stitch or similar decorative stitch. Stitching traditional satin stitches is a short zigzag stitch that holds the edges of applique fabric together. A nice, dense running stitch may be used as the border stitch on applique with a raw edge that sticks out. Another fun stitch is the bean stitch!
How to Determine the Perfect Size of the Applique Fabric:
You can cut your applique fabric three ways before showing you how to applique with an embroidery machine.
Stitching and Cutting:
In many cases, cutting fabric immediately after tacking is the easiest method. After you have tacked the fabric on, you need to place a piece of rectangular fabric over the stitching and cut it down to size.
However, very ornate designs or users with reduced dexterity may find trimming the fabric difficult due to the need for precision. This method works especially well with a satin stitch border because the stitching covers any imperfections. Also have a look at how to start an embroidery stitch.
Prepare before placement by cutting to size:
You are choosing not to trim the applique fabric while the hoop allows you to cut it to size before putting it on your base fabric.
Embroidering raw-edged, blanket-stitched appliques has always been my favorite technique. Because the fabric is still hooped, a cleaner cut can be achieved without doing any crazy maneuvers.
Printing the applique template file from your computer is the easiest pre-cut fabric. If embroidery software wasn’t included with your download, you’d need it to access it. Once the fabric is cut to its exact size, use the printed template to cut it.
Using a die-cutting machine such as a Circuit, Silhouette, or Scan and Cut will allow you to cut the shape to the perfect size if the design includes an SVG file. Cricut Maker is without a doubt the most versatile craft tool I own, even though I wasn’t sure what I might be able to do with it at first.
The best way to cut an applique shape if you don’t have good dexterity or cannot snip precisely is to use this technique. Additionally, there are Acquit dies that can be used for free applique embroidery design
Taking the Time to Stitch Twice
You may prefer not to cut fabric on your actual base fabric and risk cutting right through it, even though this is more time-consuming and resource-intensive. Placement stitches are stitched on base fabric pieces and removed from the hoop in this method. In the next step, you’ll put an embroidery stabilizer on your applique fabric and stitch another placement or tacking stitch on it. Make a stitch along the edge of the applique fabric and cut it out. The base fabric will determine the size you need.
Is there a stabilizer to use in the hoops?
If you’re stitching an applique on a base fabric, choose a stabilizer that matches the fabric you’re working on. On stretchy fabrics, use a tear-away method instead of a cut-away method.
What should I use for the back of the applique fabric?
Stabilizing the back of the applique fabric isn’t mandatory, but I find it produces an inferior outcome and more wrinkles, especially with repeated washings. HeatnBond Lite is my preferred choice for appliques.
Use a cut-away stabilizer sprayed with temporary adhesive (e.g. Odif 505), fusible webbing, or even lightweight sewing interfacing if you need to fix the problem quickly.
What do you need to Know about Embroidering Appliques with an Embroidery Machine?
If you intend to wash the item you are appliqueing, prewash both the base fabric and your applique fabric. There is no point in appliqueing a brand-new 100% cotton piece of cloth onto a pre-washed t-shirt and sending it through the washer because unwashed cotton shrinks disproportionately to prewashed cotton.
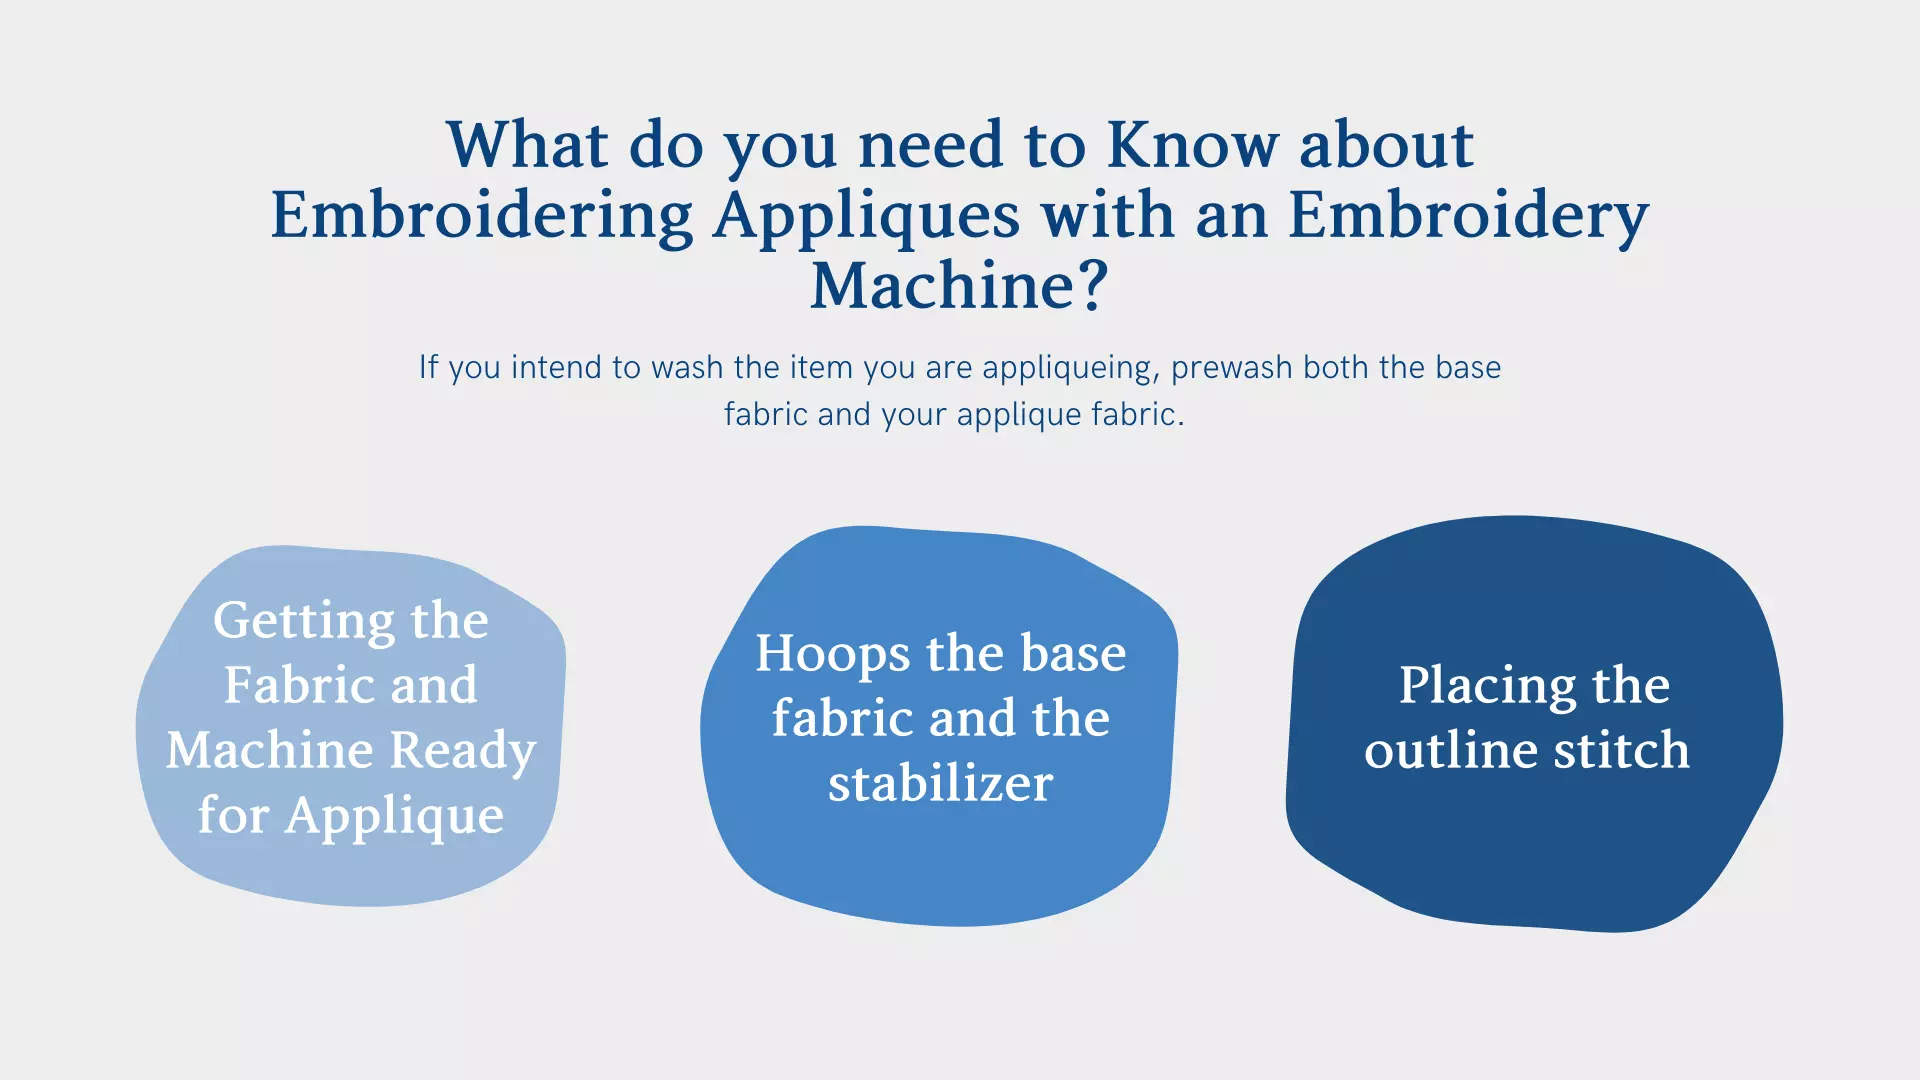
Getting the Fabric and Machine Ready for Applique
You’ll want to mark your fabric where you’ll applique. My usual method is to use water-soluble fabric pens, but I chose my chalk wheel instead since I was wearing a dark shirt.
Afterward, hoops the base fabric and the stabilizer:
To adhere the cut-away stabilizer to the shirt, lightly spray it with temporary fabric adhesive and then hoop it. You can find tips and tricks on hoop fabric for machine embroidery! Some embroidery enthusiasts dislike the adhesive spray, but I think it helps me hoop correctly and tautly.
Even if your base fabric does not make a hoop, it is always possible to float the material above the stabilizer. It is necessary to have a stabilizer at least one inch larger than the hoop size on each side when hooping. However, I have more than enough stabilizers on either side, even though I don’t have one in the middle.
The design was merely an applique and not too stitch-dense, so I skipped working with water-soluble topping.
After you hooped your fabric, float one layer of water-soluble topping on top of your applique fabric that has a nap or pile (e.g. terry cloth, velvet, faux fur). When you are done with the project, you have to tear away the remainder of the topping and wash it away.
Then, insert your embroidery machine into the hoop. Embroidering on a two-sided embroidery blank requires removing all the fabric underneath and around the embroidery area. When it comes to holding excess fabric out of the way, I use hair clips, clothespins, and even painter’s tape.
Placing the outline stitch or stitching the placement:
Do not forget to check that the needle and thread in your machine are the correct ones.
Position your design with your markings in the center.
How to Prepare the Fabric for Applique:
As you work, cut a piece of applique fabric a couple of inches larger than the stitched design. After the applique fabric has been attached to the backing, attach the support. My solution was to place a piece of HeatnBond Lite on the back of the applique fabric with the textured side facing down.
I then pressed it with a medium heat iron (the iron went over the paper part of the backing) and let it cool. The paper layer then peels right off, leaving the fabric backing behind.
Let’s make your best applique embroidery with the machine!