
How to Remove Embroidery – Easily and Neatly
Creating individual designs on the fabrics by utilizing different sources is noted as embroidery. It is a unique traditional art that becomes popular with every passing day. Nowadays, you find embroidery work in different styles.
Numerous sources and techniques have been developed to make embroidery art outclass in this modern era. The most asked question from beginners is how to remove embroidery or fix the artwork mistake on the fabric.
Sometimes when you are working with embroidery by hand or embroidery by machine, any stitch or stitch unwanted designs on your fabric. This kind of situation leads to your disturbance. In this way, most beginners restart their embroidery projects and waste their fabric.
Therefore, to resolve the issue of many new learners in this topic, we discuss how someone can fix the unwanted stitches on the fabric to acquire perfect designs without losing cloth. So to know more about this beneficial topic, keep reading.
How to Remove the Embroidery
Embroidery is artwork on fabric that provides a unique appearance. Within time, the business of embroidery is growing because most people are attracted to embroidery creation.
There are different ways to explore this artwork on your fabric, like embroidery by hand and embroidery by machine. Many people or new learners get damaged accurate designs or create unnecessary stitches on the materials during this artwork.

This kind of situation is very irritating, and we get disturbed. But you do not need to worry. By using the way of removing embroidery by different techniques, one can get rid of this trouble. And this is defined as the removal of embroidery.
But here, the other question arises: what are you required for fixing this issue, and what steps are involved in the fixing procedure. Work-specific tools are introduced to solve this trouble when removing the embroidery efficiently.
Embroidery Tools
Different tools support removing unwanted stitches efficiently. Now we discuss these tools and how they are utilized in simple wording. There are the following popular tools.
A Seam Ripper
This is the kind of tool available with every sewing machine. You can access all shapes and styles of seam rippers in the market at an affordable price. When we talk about the seam ripper, they consist of the head, handle, and shaft.
This tool is very supportive in removing unwanted stitches from your fabric. In addition, by using this, one can also get a ride from the extra threads because it smoothly cleans unwanted lines from your material.
An Embroidery Eraser
It is another type of removal tool that runs on electricity. Means embroidery eraser is an electric device that works on the power. It supports loosening the unwanted threads by clipping. Utilizing this tool is simple and you learn quickly without any trouble. You can use this tool for more significant projects, and it is slightly used for hand embroidery.
A Lint Brush
A handy tool that you can access for different purposes of your embroidery work is the lint roller. The Lint roller is small in size and based on a simple mechanism. You can remove the hair dust threads from your fabric through the lint roller.
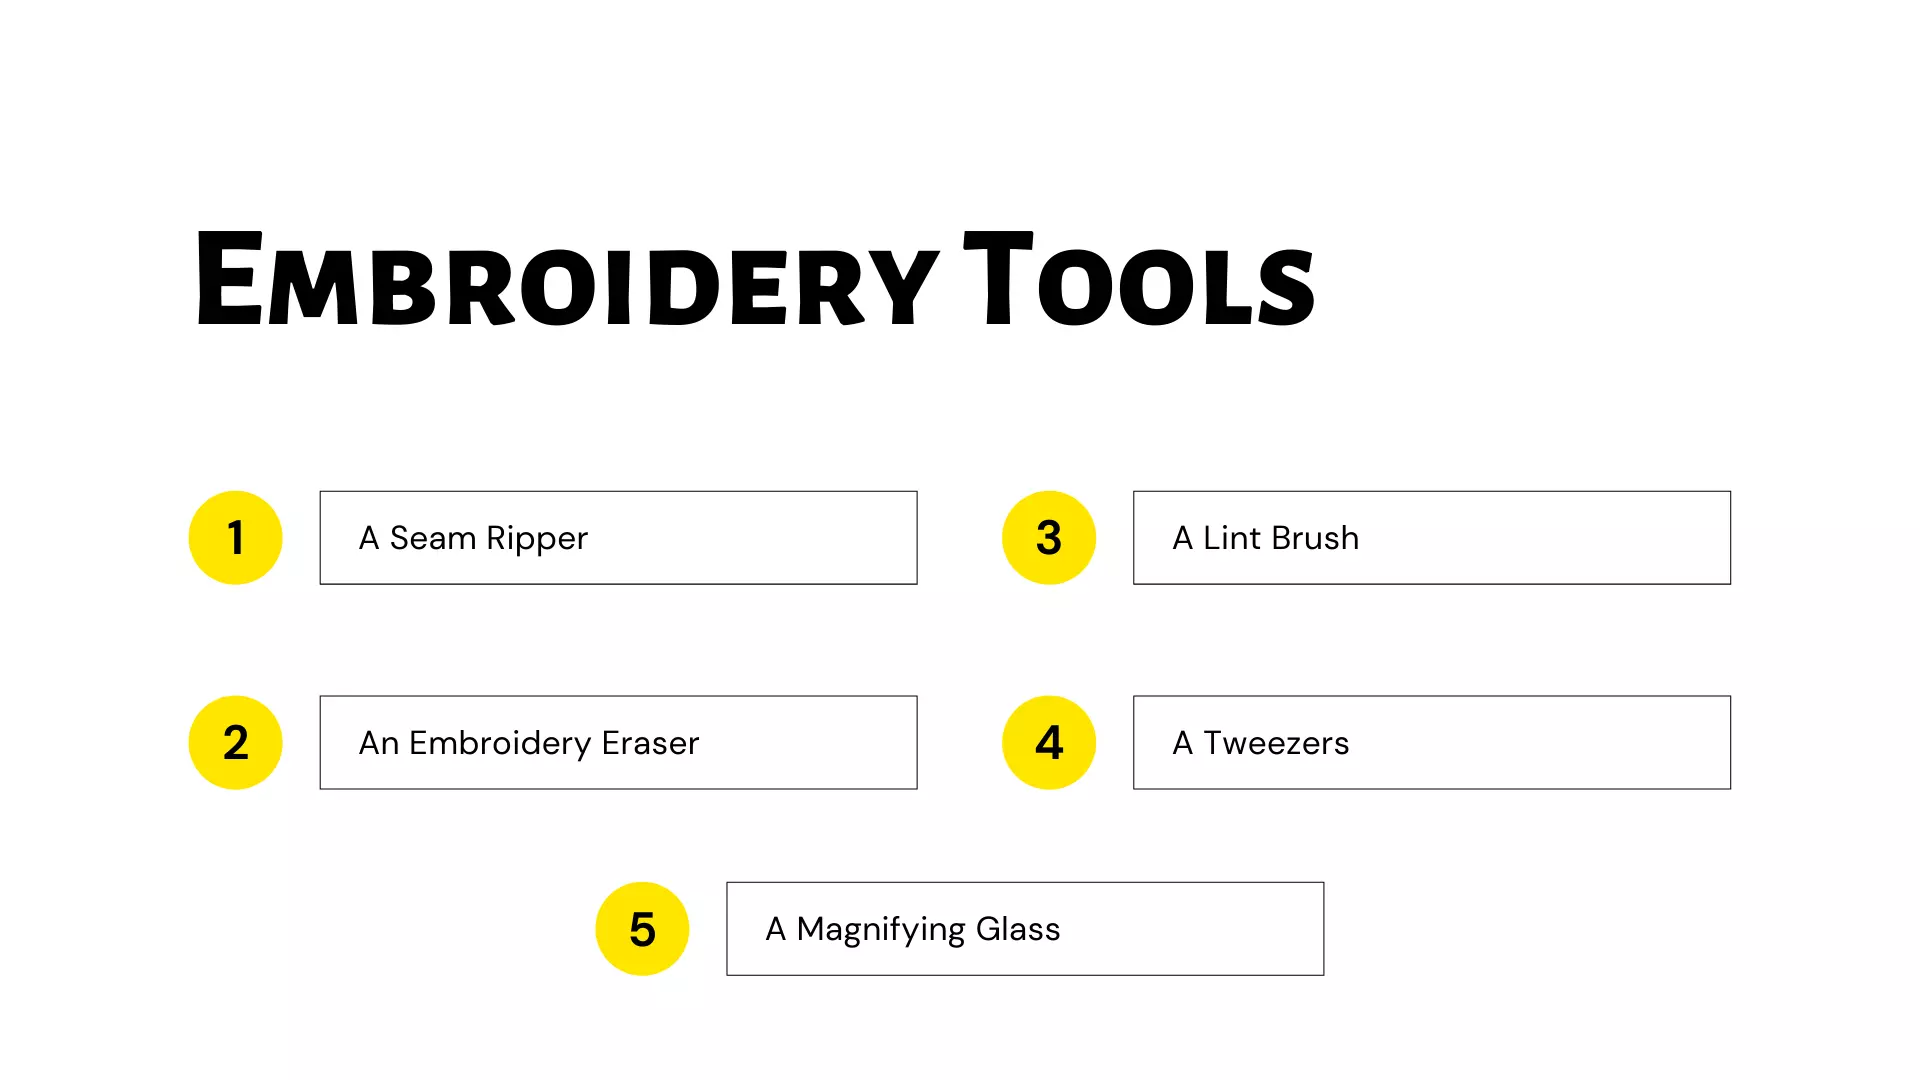
A Tweezers
The tweezer is the other small tool that you can utilize to remove or loosen unwanted threads from your fabric. It is a commonly used tool in our bathrooms that you can access without any trouble. When we talk about utilizing this handy tool, it is user-friendly.
With this tool, you can pick the unwanted thread from your fabric and cut out the stitches quickly with sharp and high-quality tweezers.
A Magnifying Glass
You can do the job of removing unwanted stitches from fabric by using magnifying glasses. It is also a straightforward and assembled tool to quickly get rid of unwanted stitches.
So these are the primary tools you can utilize to remove wrong or unwanted stitches from your fabric. All these tools are readily available in the affordable range, and you can use them for your different projects according to your fabric requirement.
Tools Usage Procedure
Now we discuss the steps that help you utilize these tools efficiently. These steps provide you with proper guidelines for removing unnecessary threads or stitches.
- The first step is about the arrangement of fabric for removing the threads. Most people get confused about eliminating the wrong stitch designs on fabric and want to remove the embroidery backing perfectly.
- You need to follow the specific points when you access the required tool according to your project requirement. Firstly change the fabric side, turn it out, and analyze the stitches you want to remove.
- Then you need to use your tool and remove the embroidery backing. This technique is usually helpful in hand embroidery.
- The second step guides how someone can remove the stitches by cutting the mechanism. The mechanism of cutting is based on the two tools. One is a seam ripper, and the other is an embroidery eraser.
When working with the seam ripper tool, you need to follow the given steps.
- When you determine the stitches you want to remove, you need to keep the hook of the seam ripper under the bobbin threads and then turn the curve. By doing this, you can easily cut the line from the fabric.
- The point to consider is that it tries to start removing tiny stitches and slow speed to prevent the fabrics from damaging.
The other technique of cutting thread is connected with the embroidery eraser. Many beginners wanted to know how to remove the embroidery logo? So this is the suitable and best technique of eliminating embroidery logos and other machine embroidery stitches.
- Firstly you need to place the fabric straight on an outer side. After this, start running the embroidery eraser over the unwanted stitches carefully. During the usage of the embroidery eraser, you need to be careful and prevent the fabric from damaging.
So these are two methods that you can use for removing the embroidery fault on your fabric. When you finalize the unwanted thread removal from the material, you need to use the lint brush to remove dust, hair, and other particles.
How to Remove Embroidery from a Hat
Embroidery is the art through which you create beautiful designs on the fabric by different techniques. Various items like shirts, jeans, hats, overs, and numerous other materials draw the embroidery work.
Here the point of discussion is how one can get rid of unwanted or wrong designs from the hat. The other case is that sometimes we want the new format on our same hat. So in this way, what do you do to remove the structures without damaging the cap?
In this regard, you need to know some fundamental factors before removing the unwanted threads from your hats. That means you know embroidery is either by hand or by embroidery machine. And also learn about the mechanism of different tools.
- Firstly turn your hat inside out and then pick the removing tool and cut out the threads from the cap.
- The procedure of removing hand embroidery from a hat
- In drawing hand embroidery from the cap, the tools you used are slightly different from those you used to remove machine embroidery.
- It would help if you had the seam remover’s tool for removing the thread.
- In the first step, you need to turn your hat inside out and determine the stitches you want to remove.
- After this, keep the hat in your hand firmly to get better control.
- Now pick your tool and start erasing the stitches from the hat by using the seam ripper. During using a seam ripper, you need to care about every factor and analyze your progress in cutting unwanted stitches from the right side of the hat.
- In completing the cutting procedure of threads from a hat, you find different holes in your cap. So you fill these holes with another design or iron this hat.
How to Remove Embroidery Without a Seam Ripper
Now we come to remove machine embroidery from a hat. We use the erasing tool in machine embroidery removal rather than the seam ripper. Now we discussed how someone could remove the embroidery without a seam ripper.
- In the first step, you need to turn the hat inside out. The changing side of the hat provides you with the proper way of cutting the unwanted thread and quickly removing it without damaging your cap.
- Hold your hat in your hand firmly to remove the exact stitches from your hat.
- The searches the bobbin stitch and starts erasing from the bobbin stitch. After cutting the bobbin stitch, you must turn the side and remove the threads by utilizing a lint roller.
- Repeat the exact mechanism and check the perfect cutting thread on your hat. After completing the procedure, pick a lint roller and clear all external particles from the cap.
So these are the main steps you take to remove the unwanted stitches from your hat.
Wrapping It up!
Embroidery is artwork that provides unique appearances on your fabrics. This article discusses how to remove embroidery from the hat, backing, and logo is perfect. Here we examine every factor that supports simple learning of removing embroidery. We hope you like the topic.